Set up SSL
Now that our app is being served through our domain, let’s add a layer of security to it by switching to HTTPS. AWS makes this fairly easy to do, thanks to Certificate Manager.
Request a Certificate
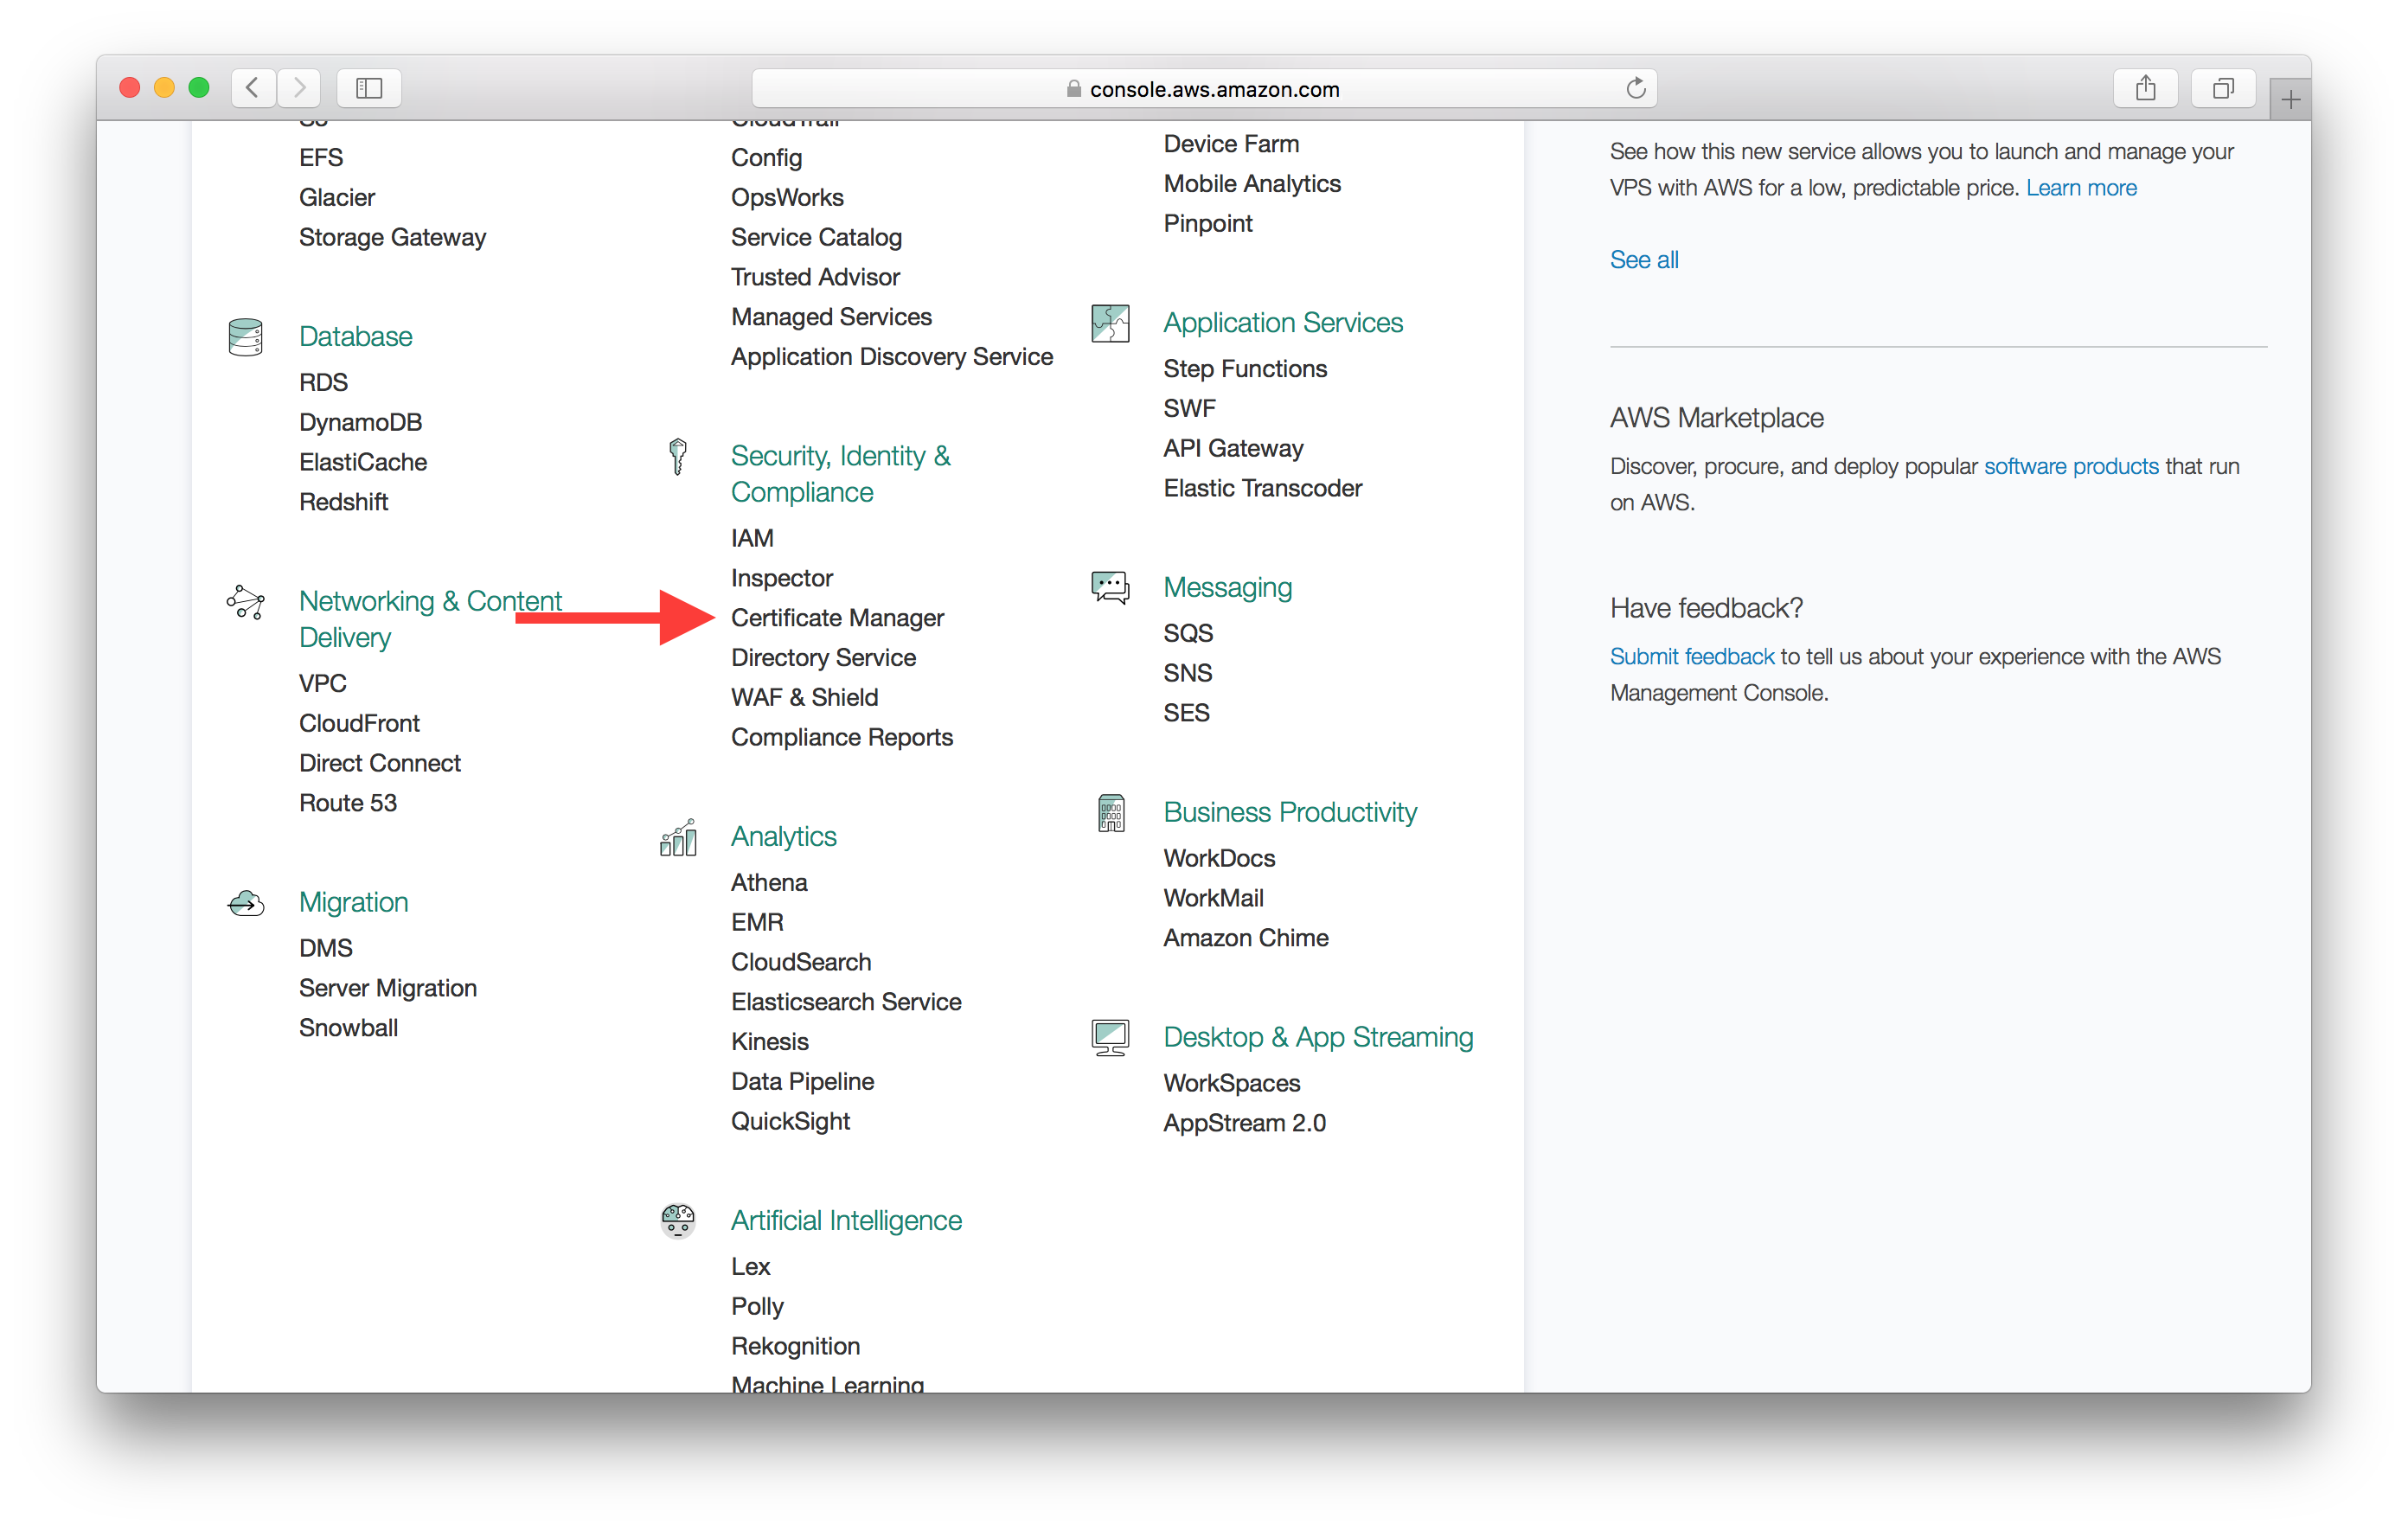
Select Certificate Manager from the list of services in your AWS Console. Ensure that you are in the US East (N. Virginia) region. This is because a certificate needs to be from this region for it to work with CloudFront.
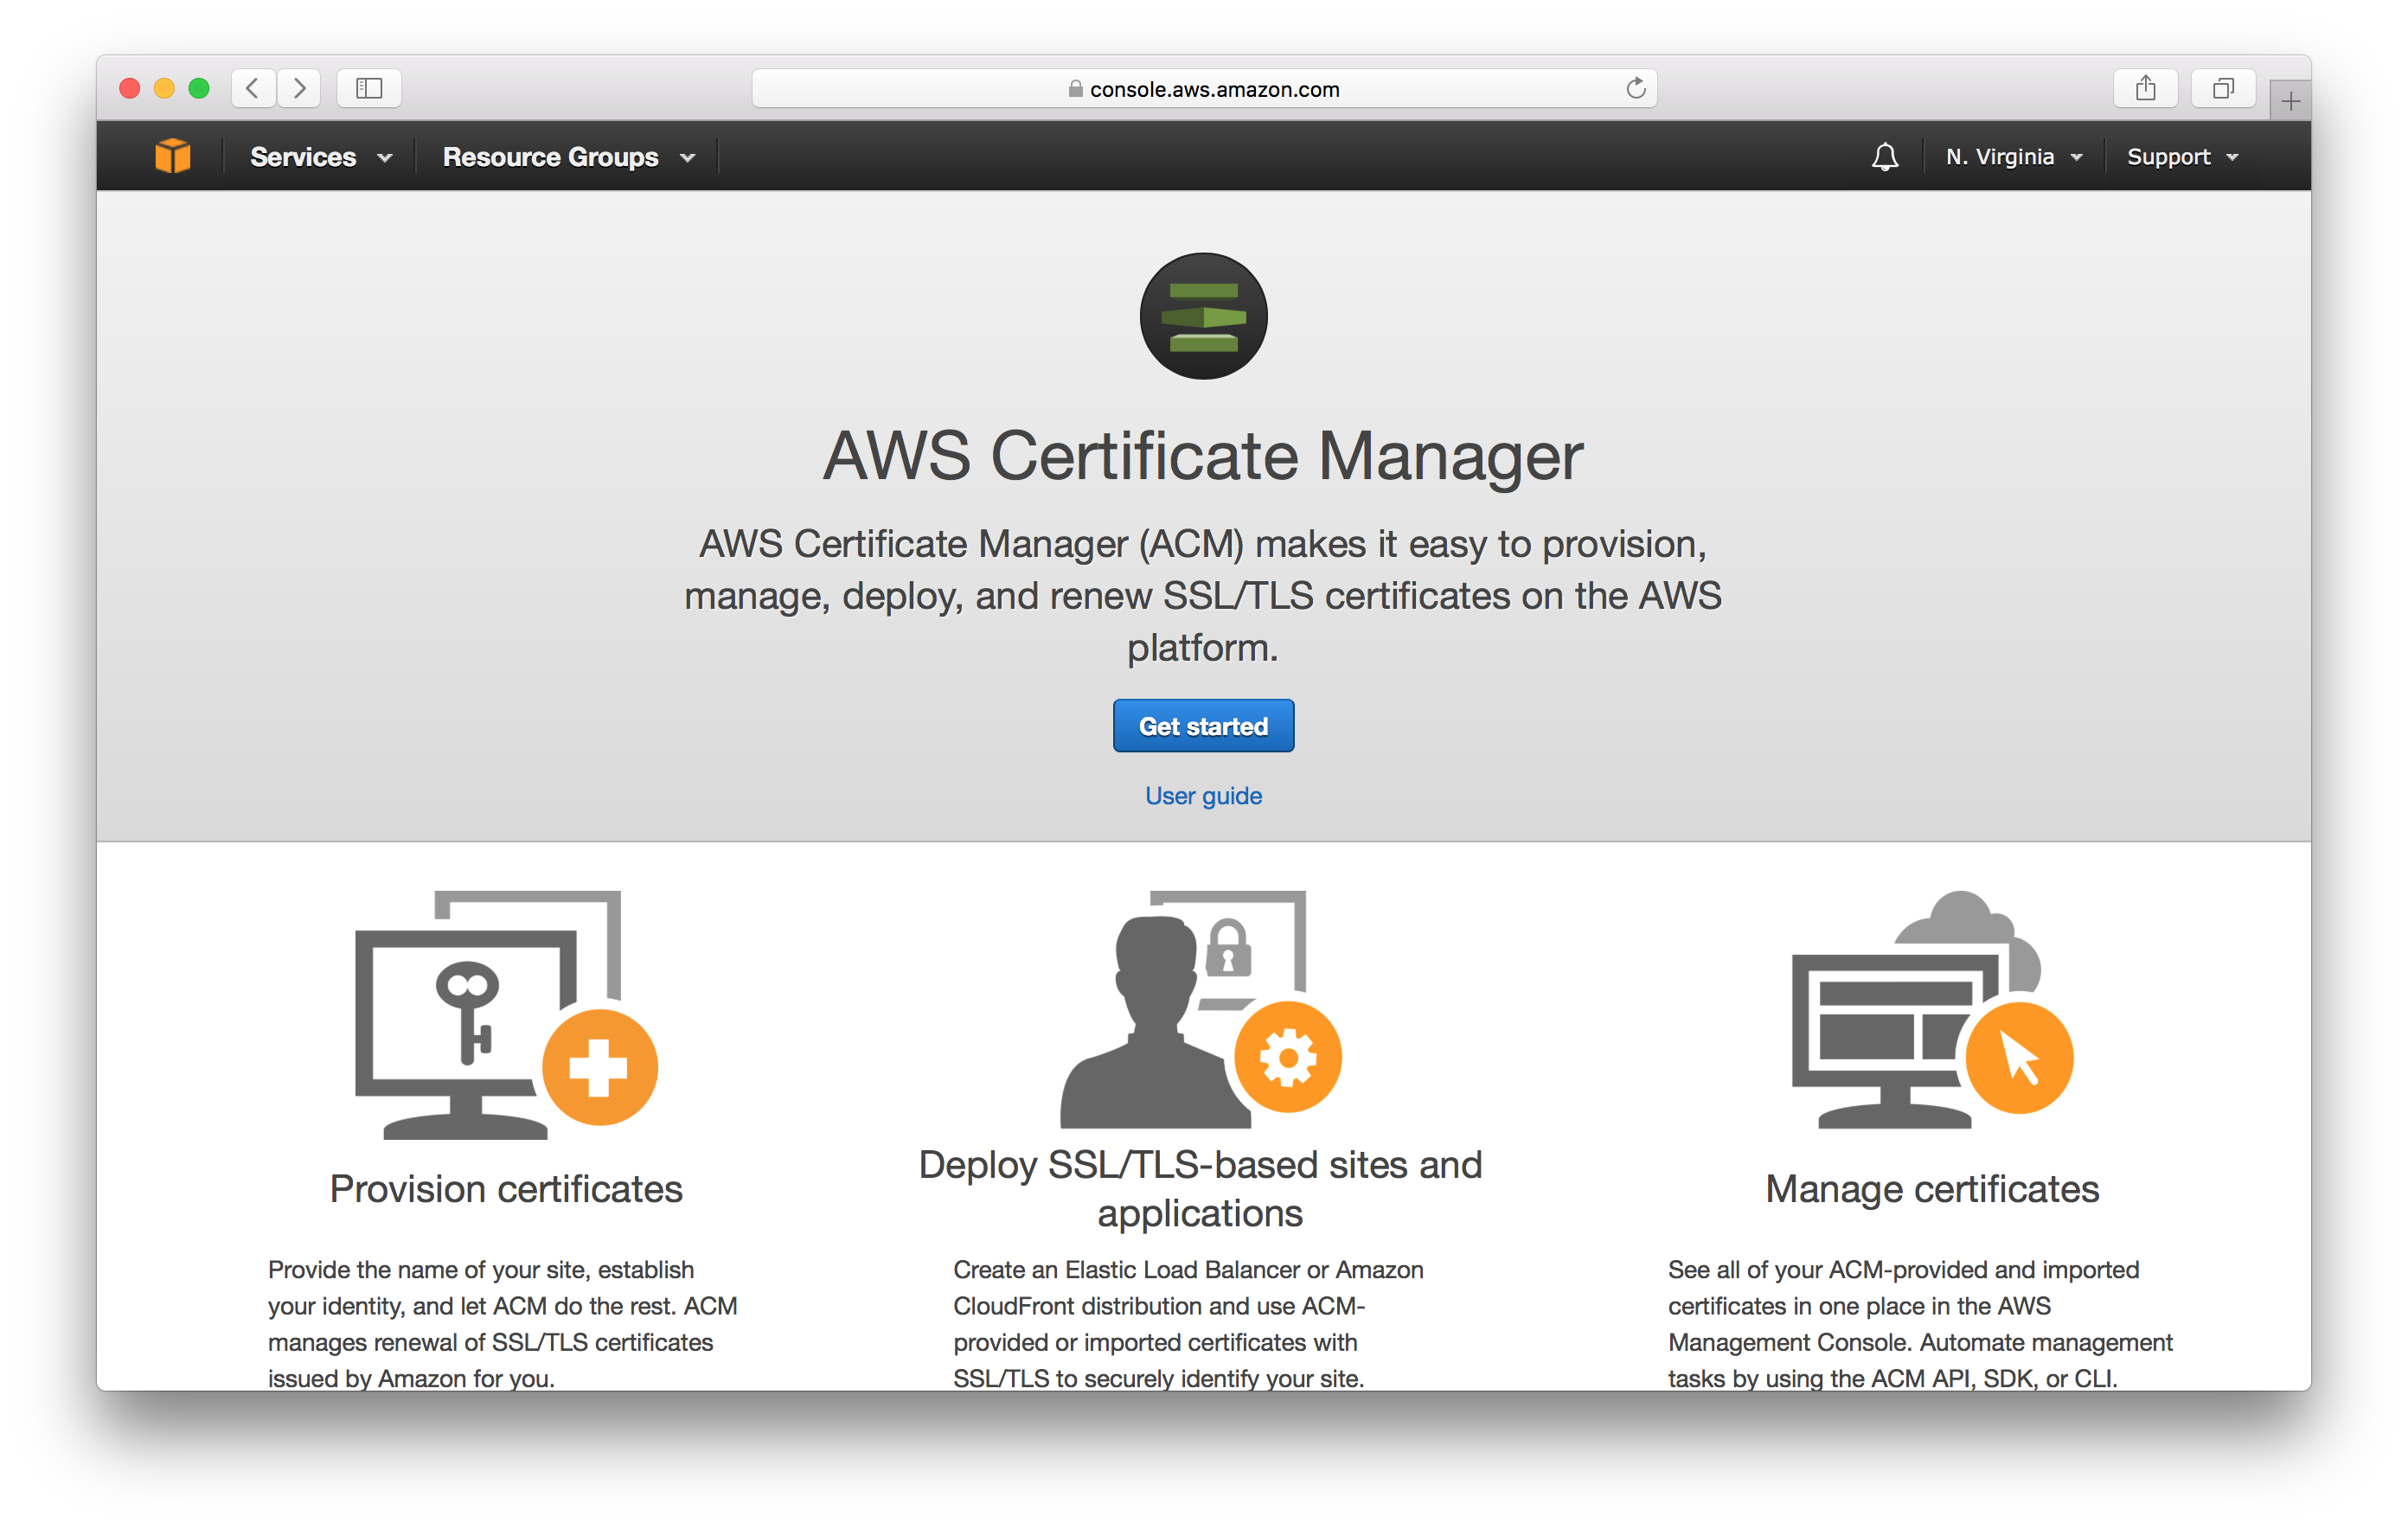
If this is your first certificate, you’ll need to hit Get started. If not they hit Request a certificate from the top.
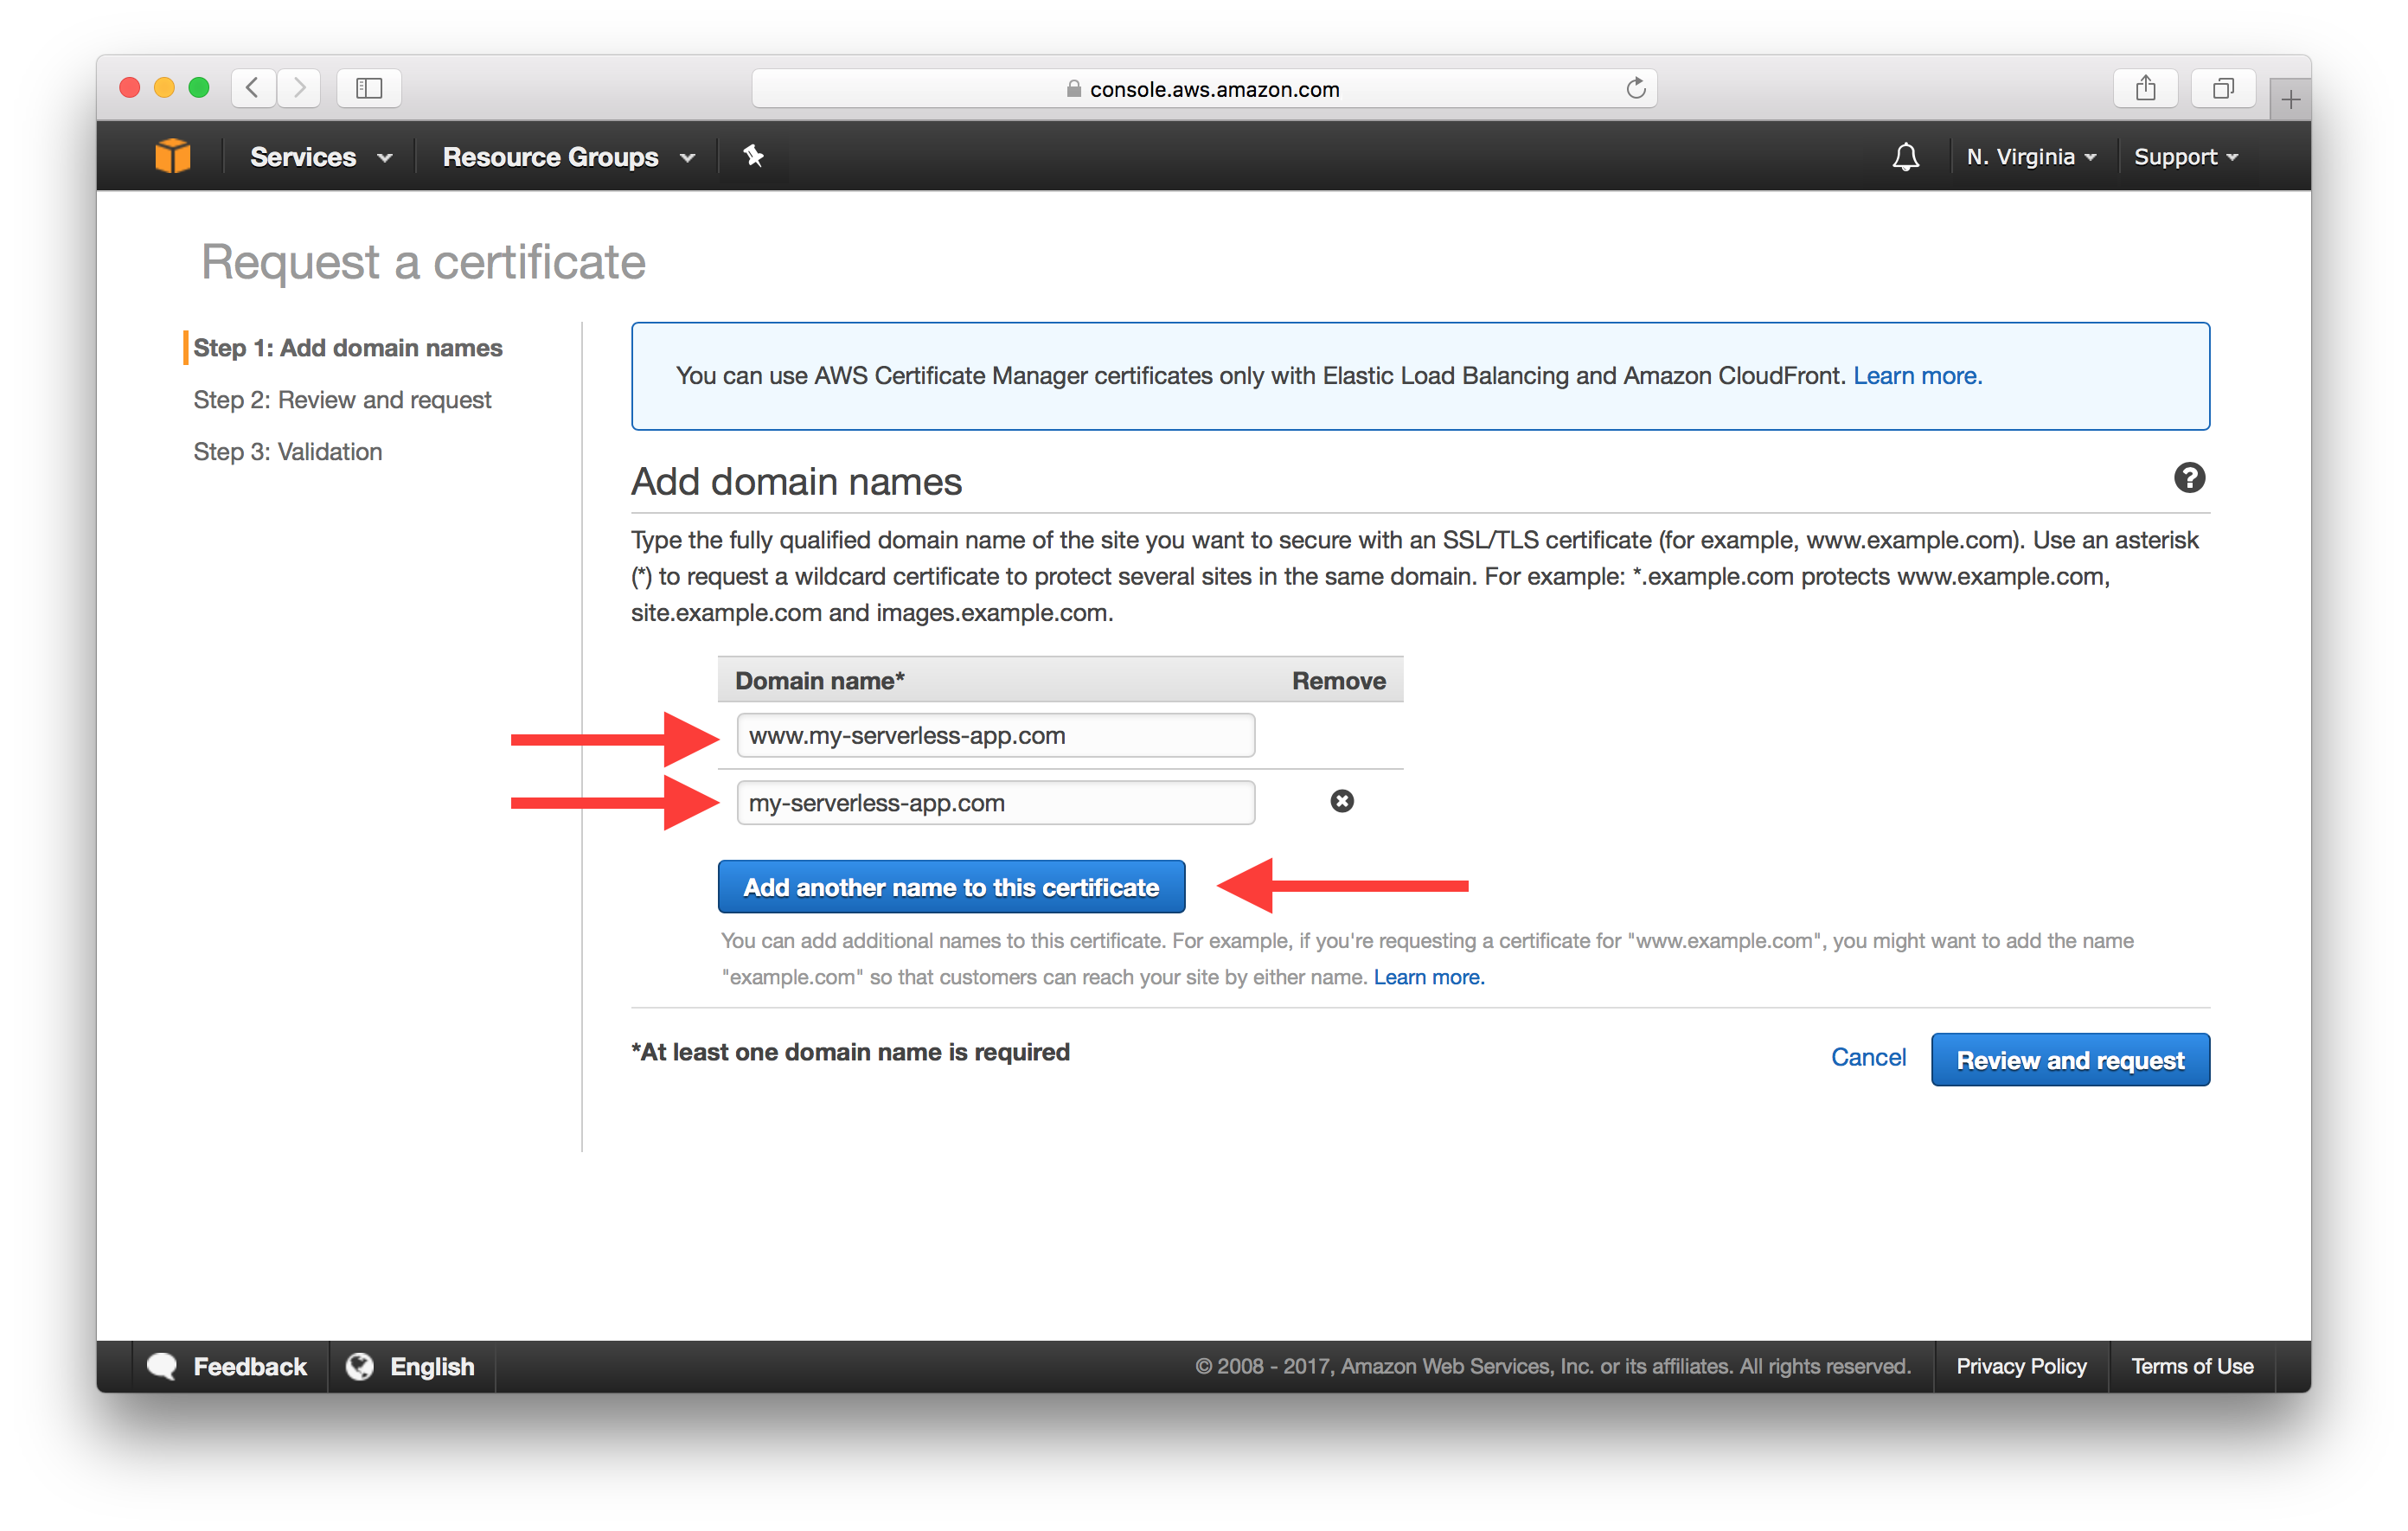
And type in the name of our domain. Hit Add another name to this certificate and add our www version of our domain as well. Hit Review and request once you are done.
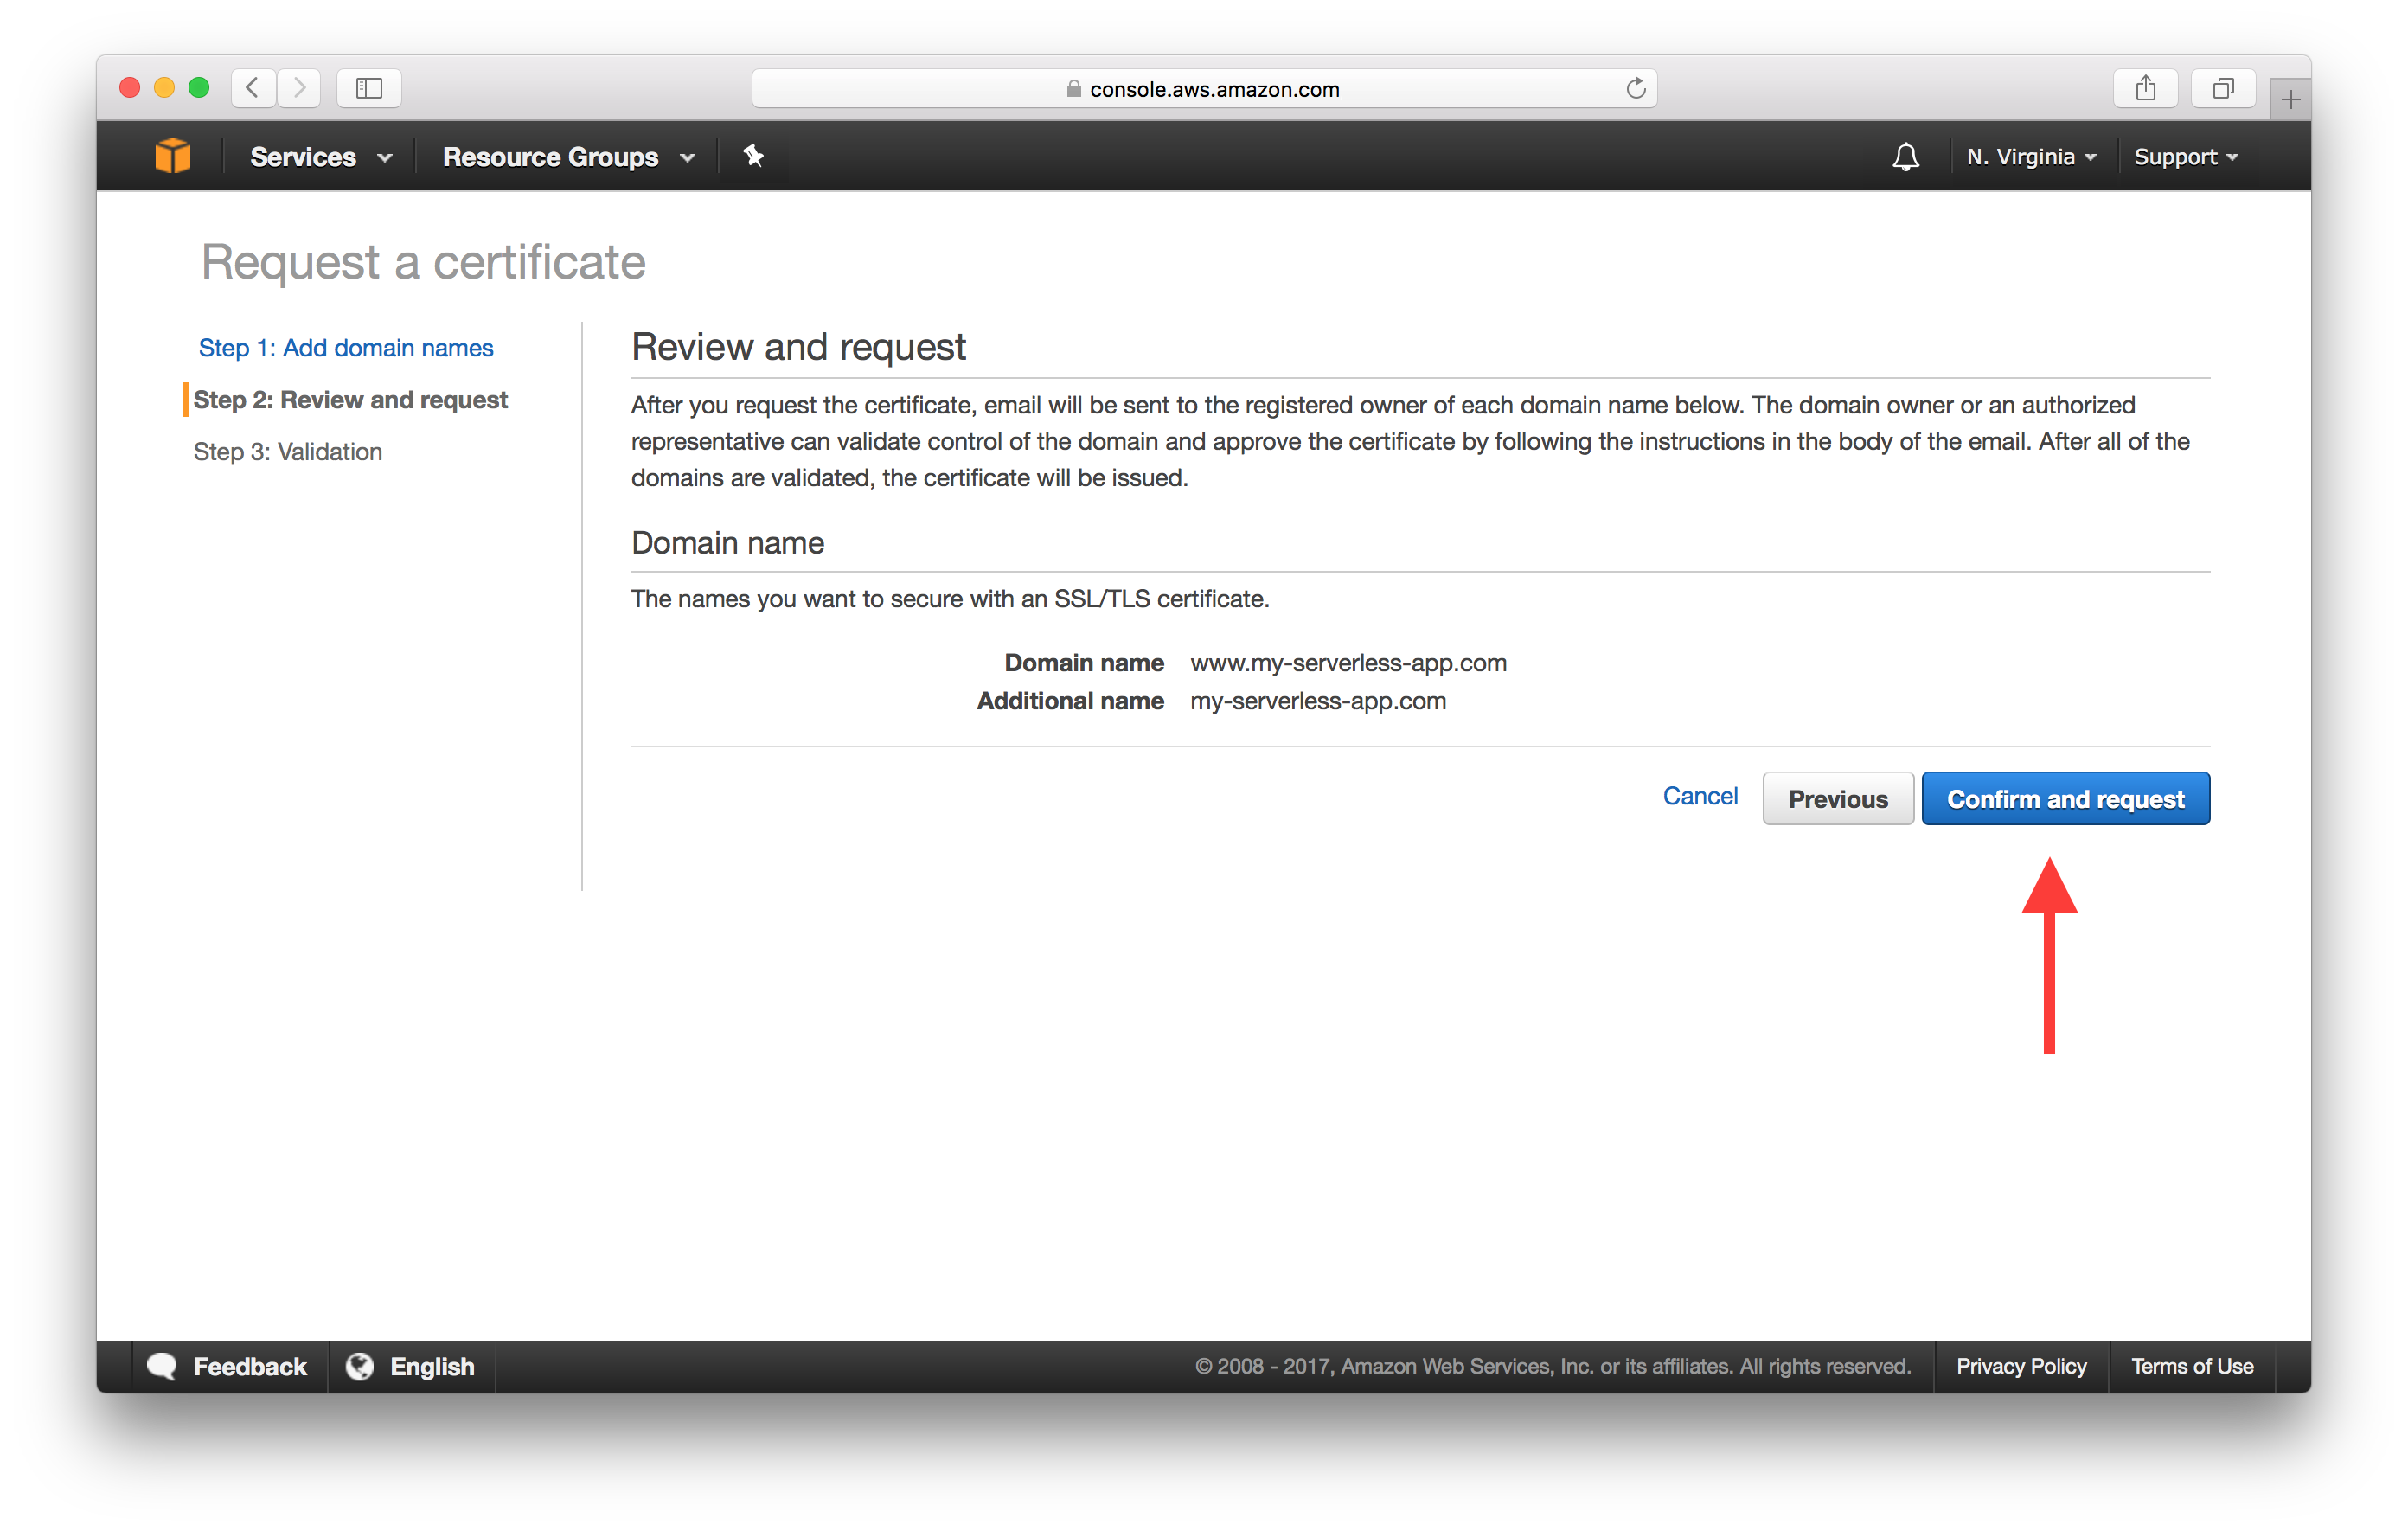
On the next screen review to make sure you filled in the right domain names and hit Confirm and request.
And finally on the Validation screen, AWS let’s you know which email addresses it’s going to send emails to verify that it is your domain. Hit Continue, to send the verification emails.
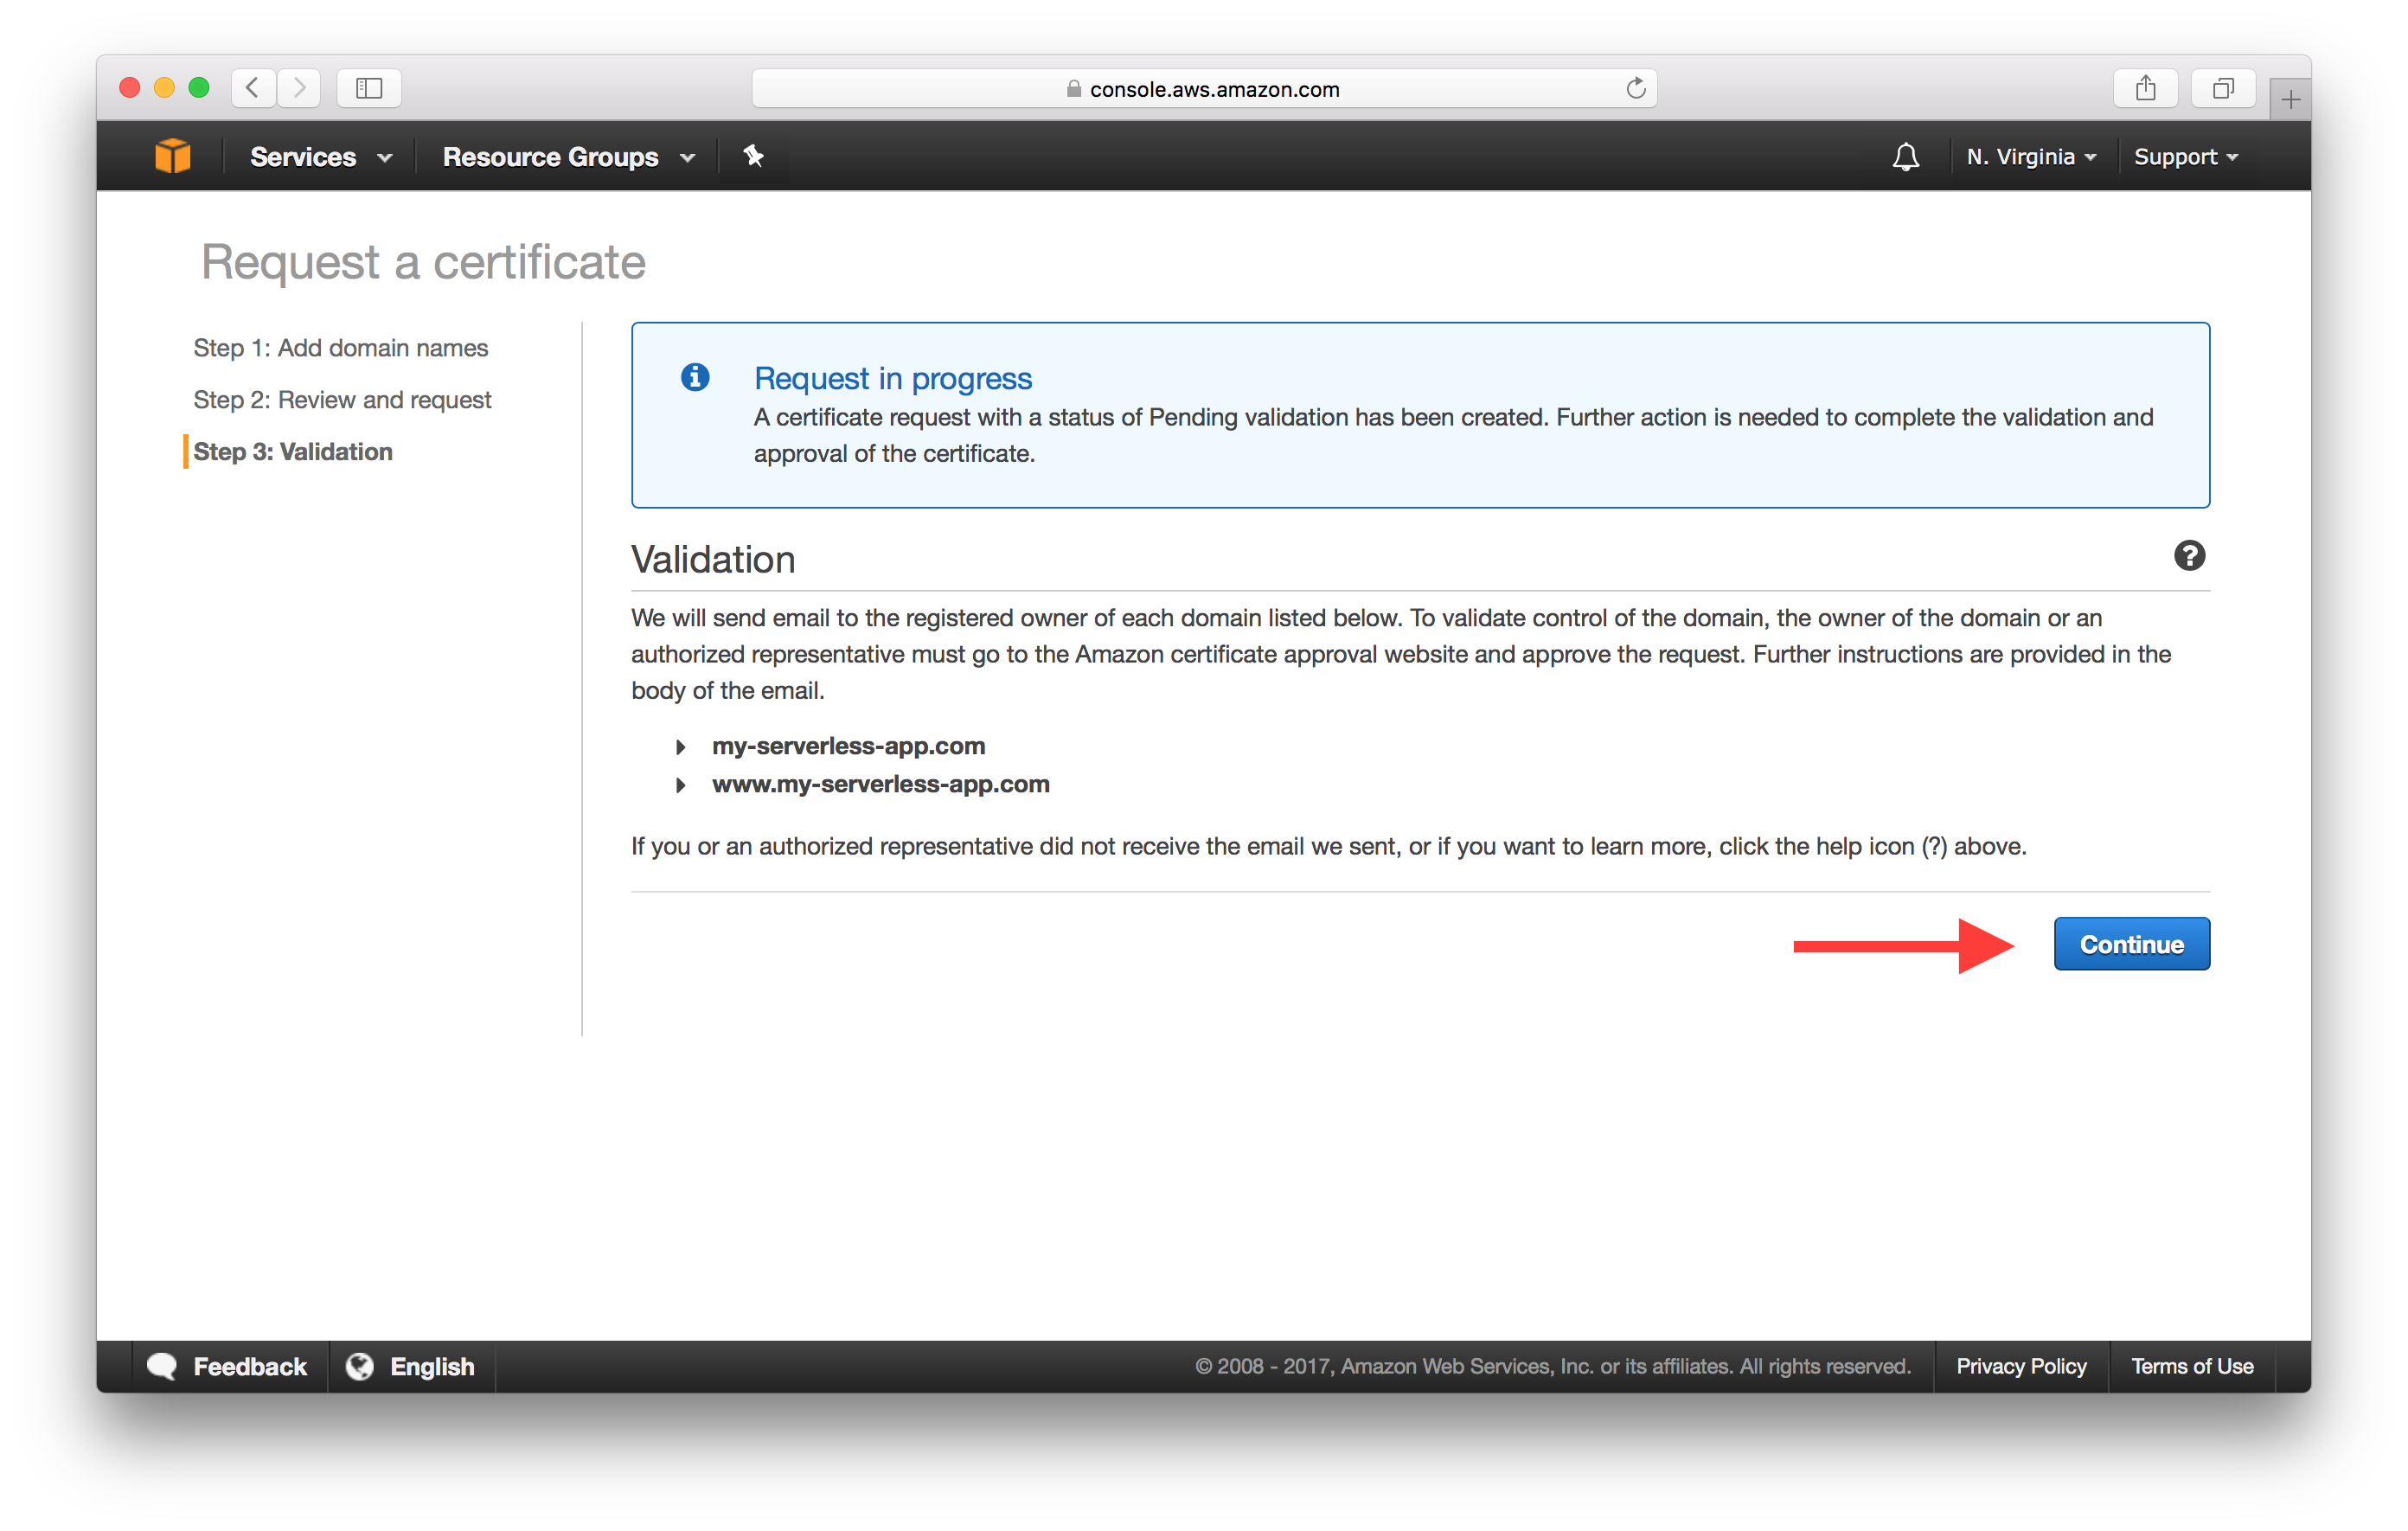
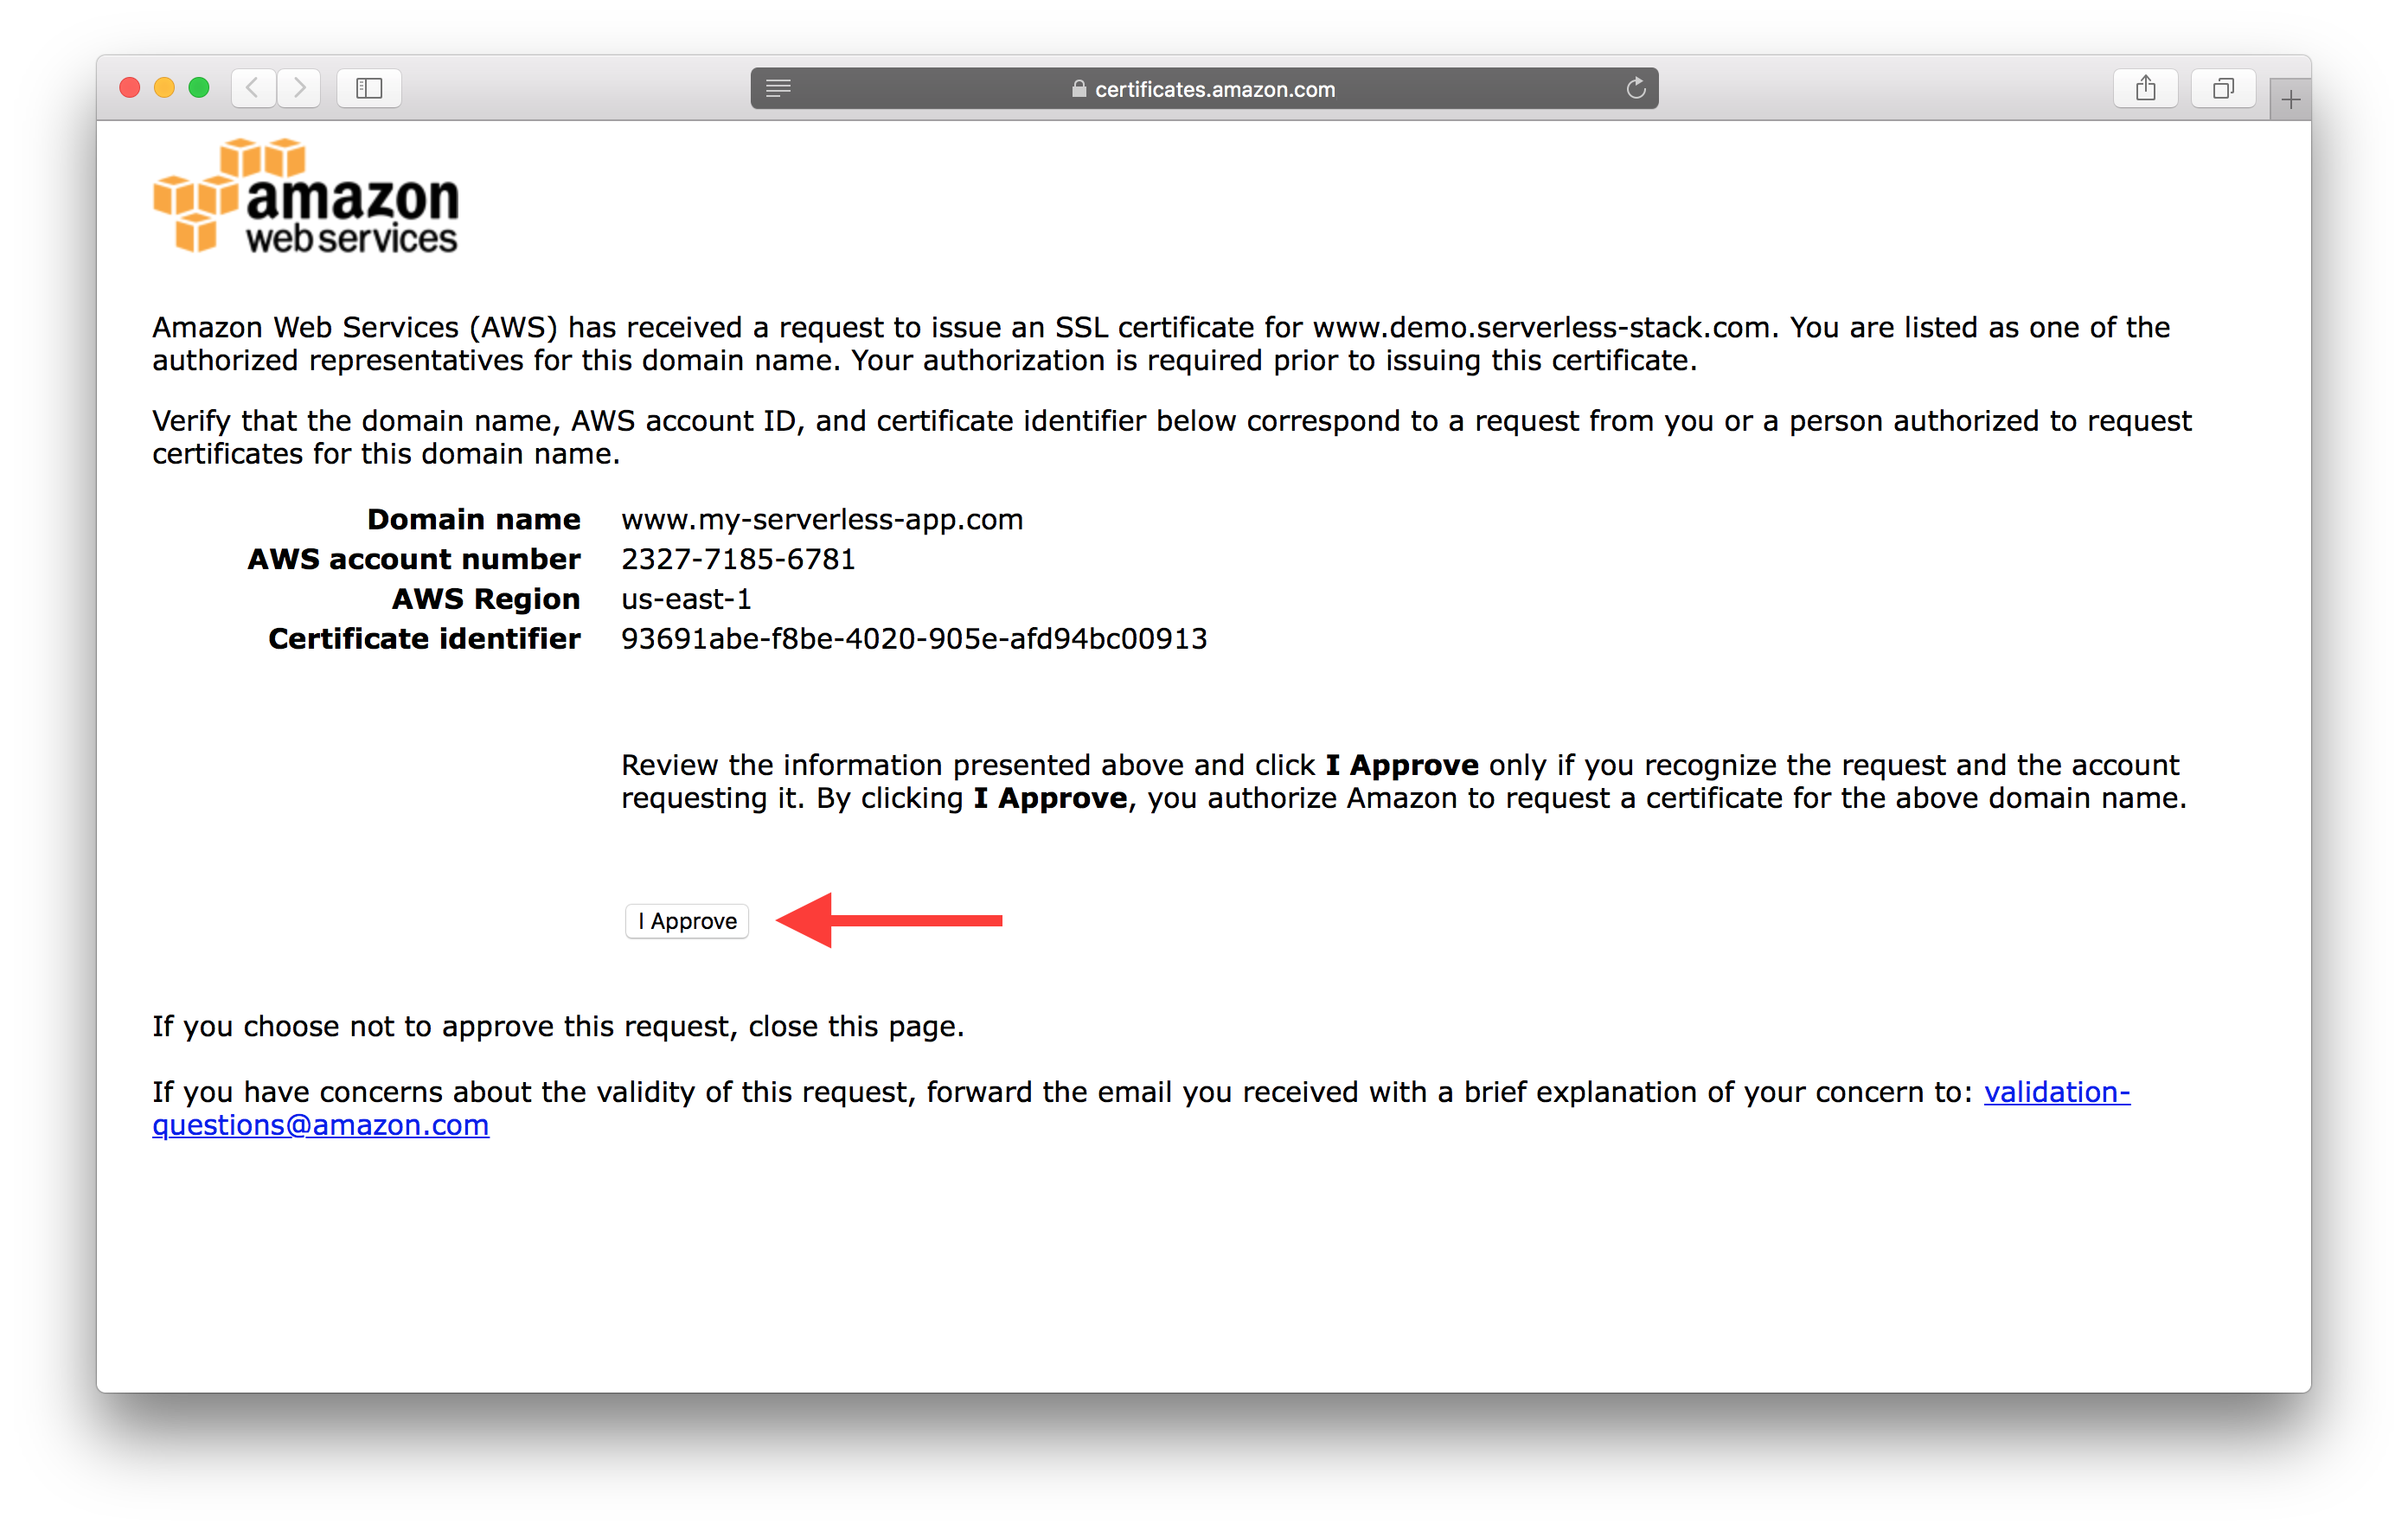
Now since we are setting up a certificate for two domains (the non-www and www versions), we’ll be receiving two emails with a link to verify that you own the domains. Make sure to hit I Approve on both the emails.
Next, we’ll associate this certificate with our CloudFront Distributions.
Update CloudFront Distributions with Certificate
Open up our first CloudFront Distribution from our list of distributions and hit the Edit button.
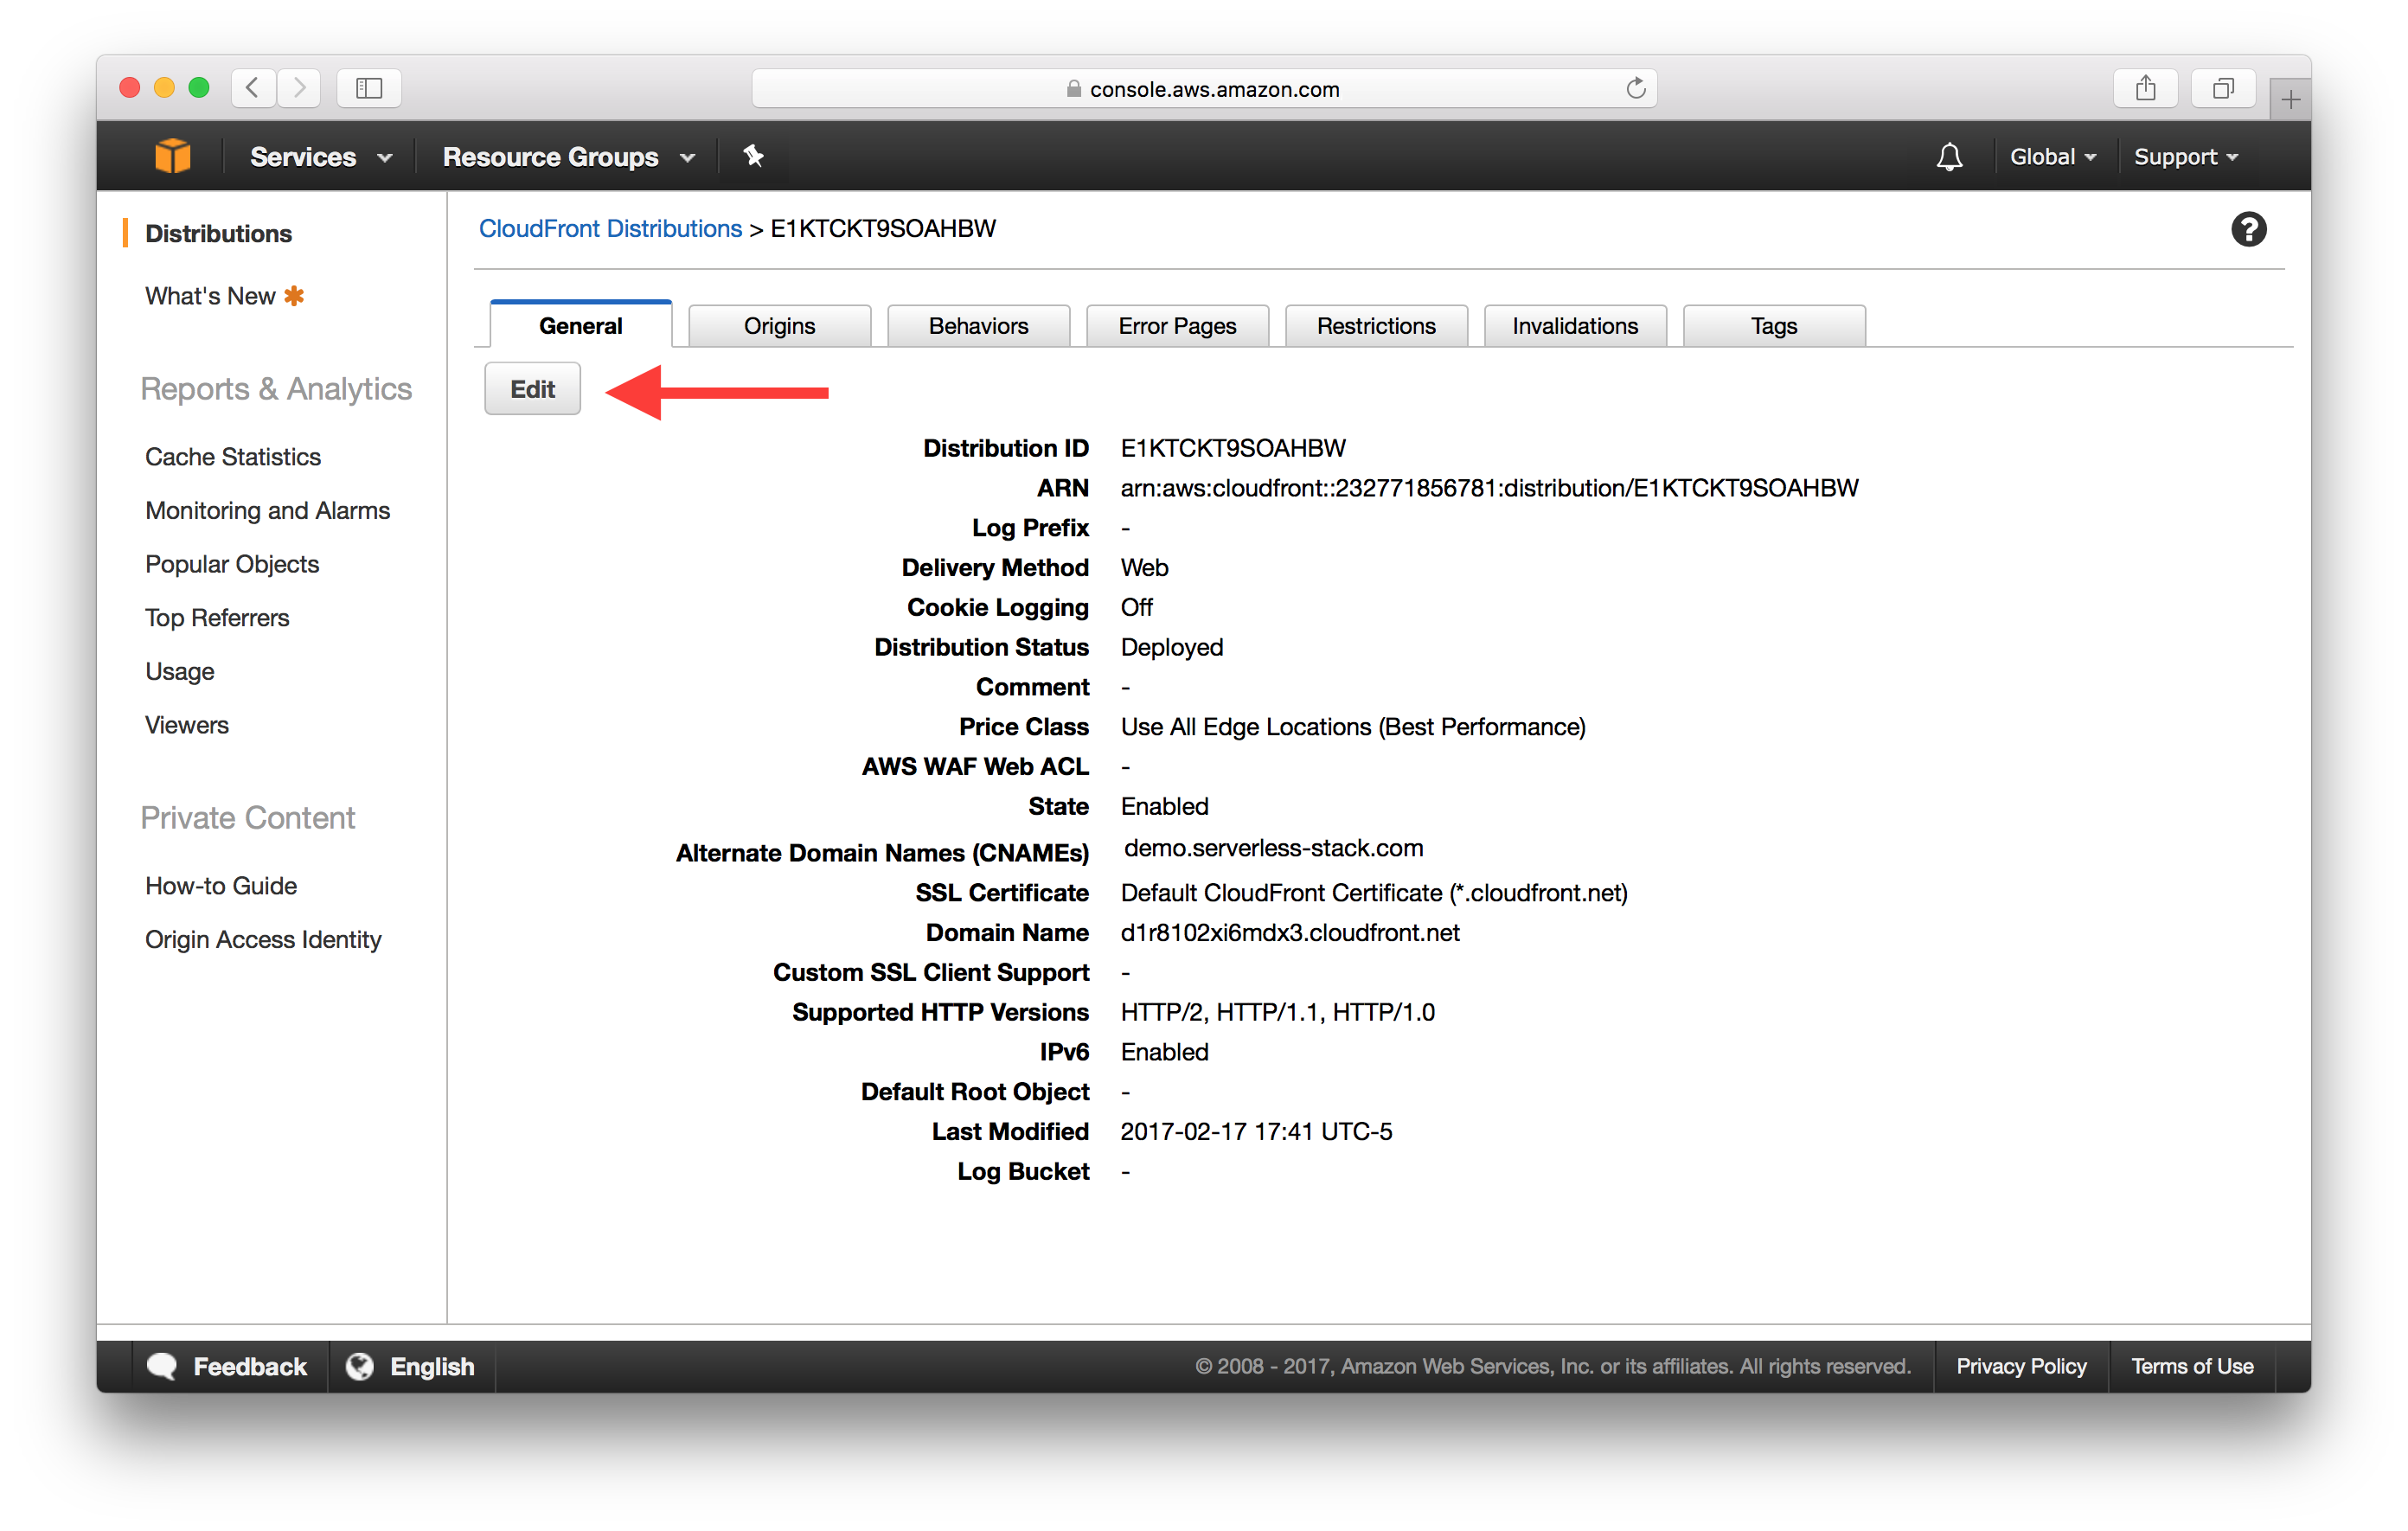
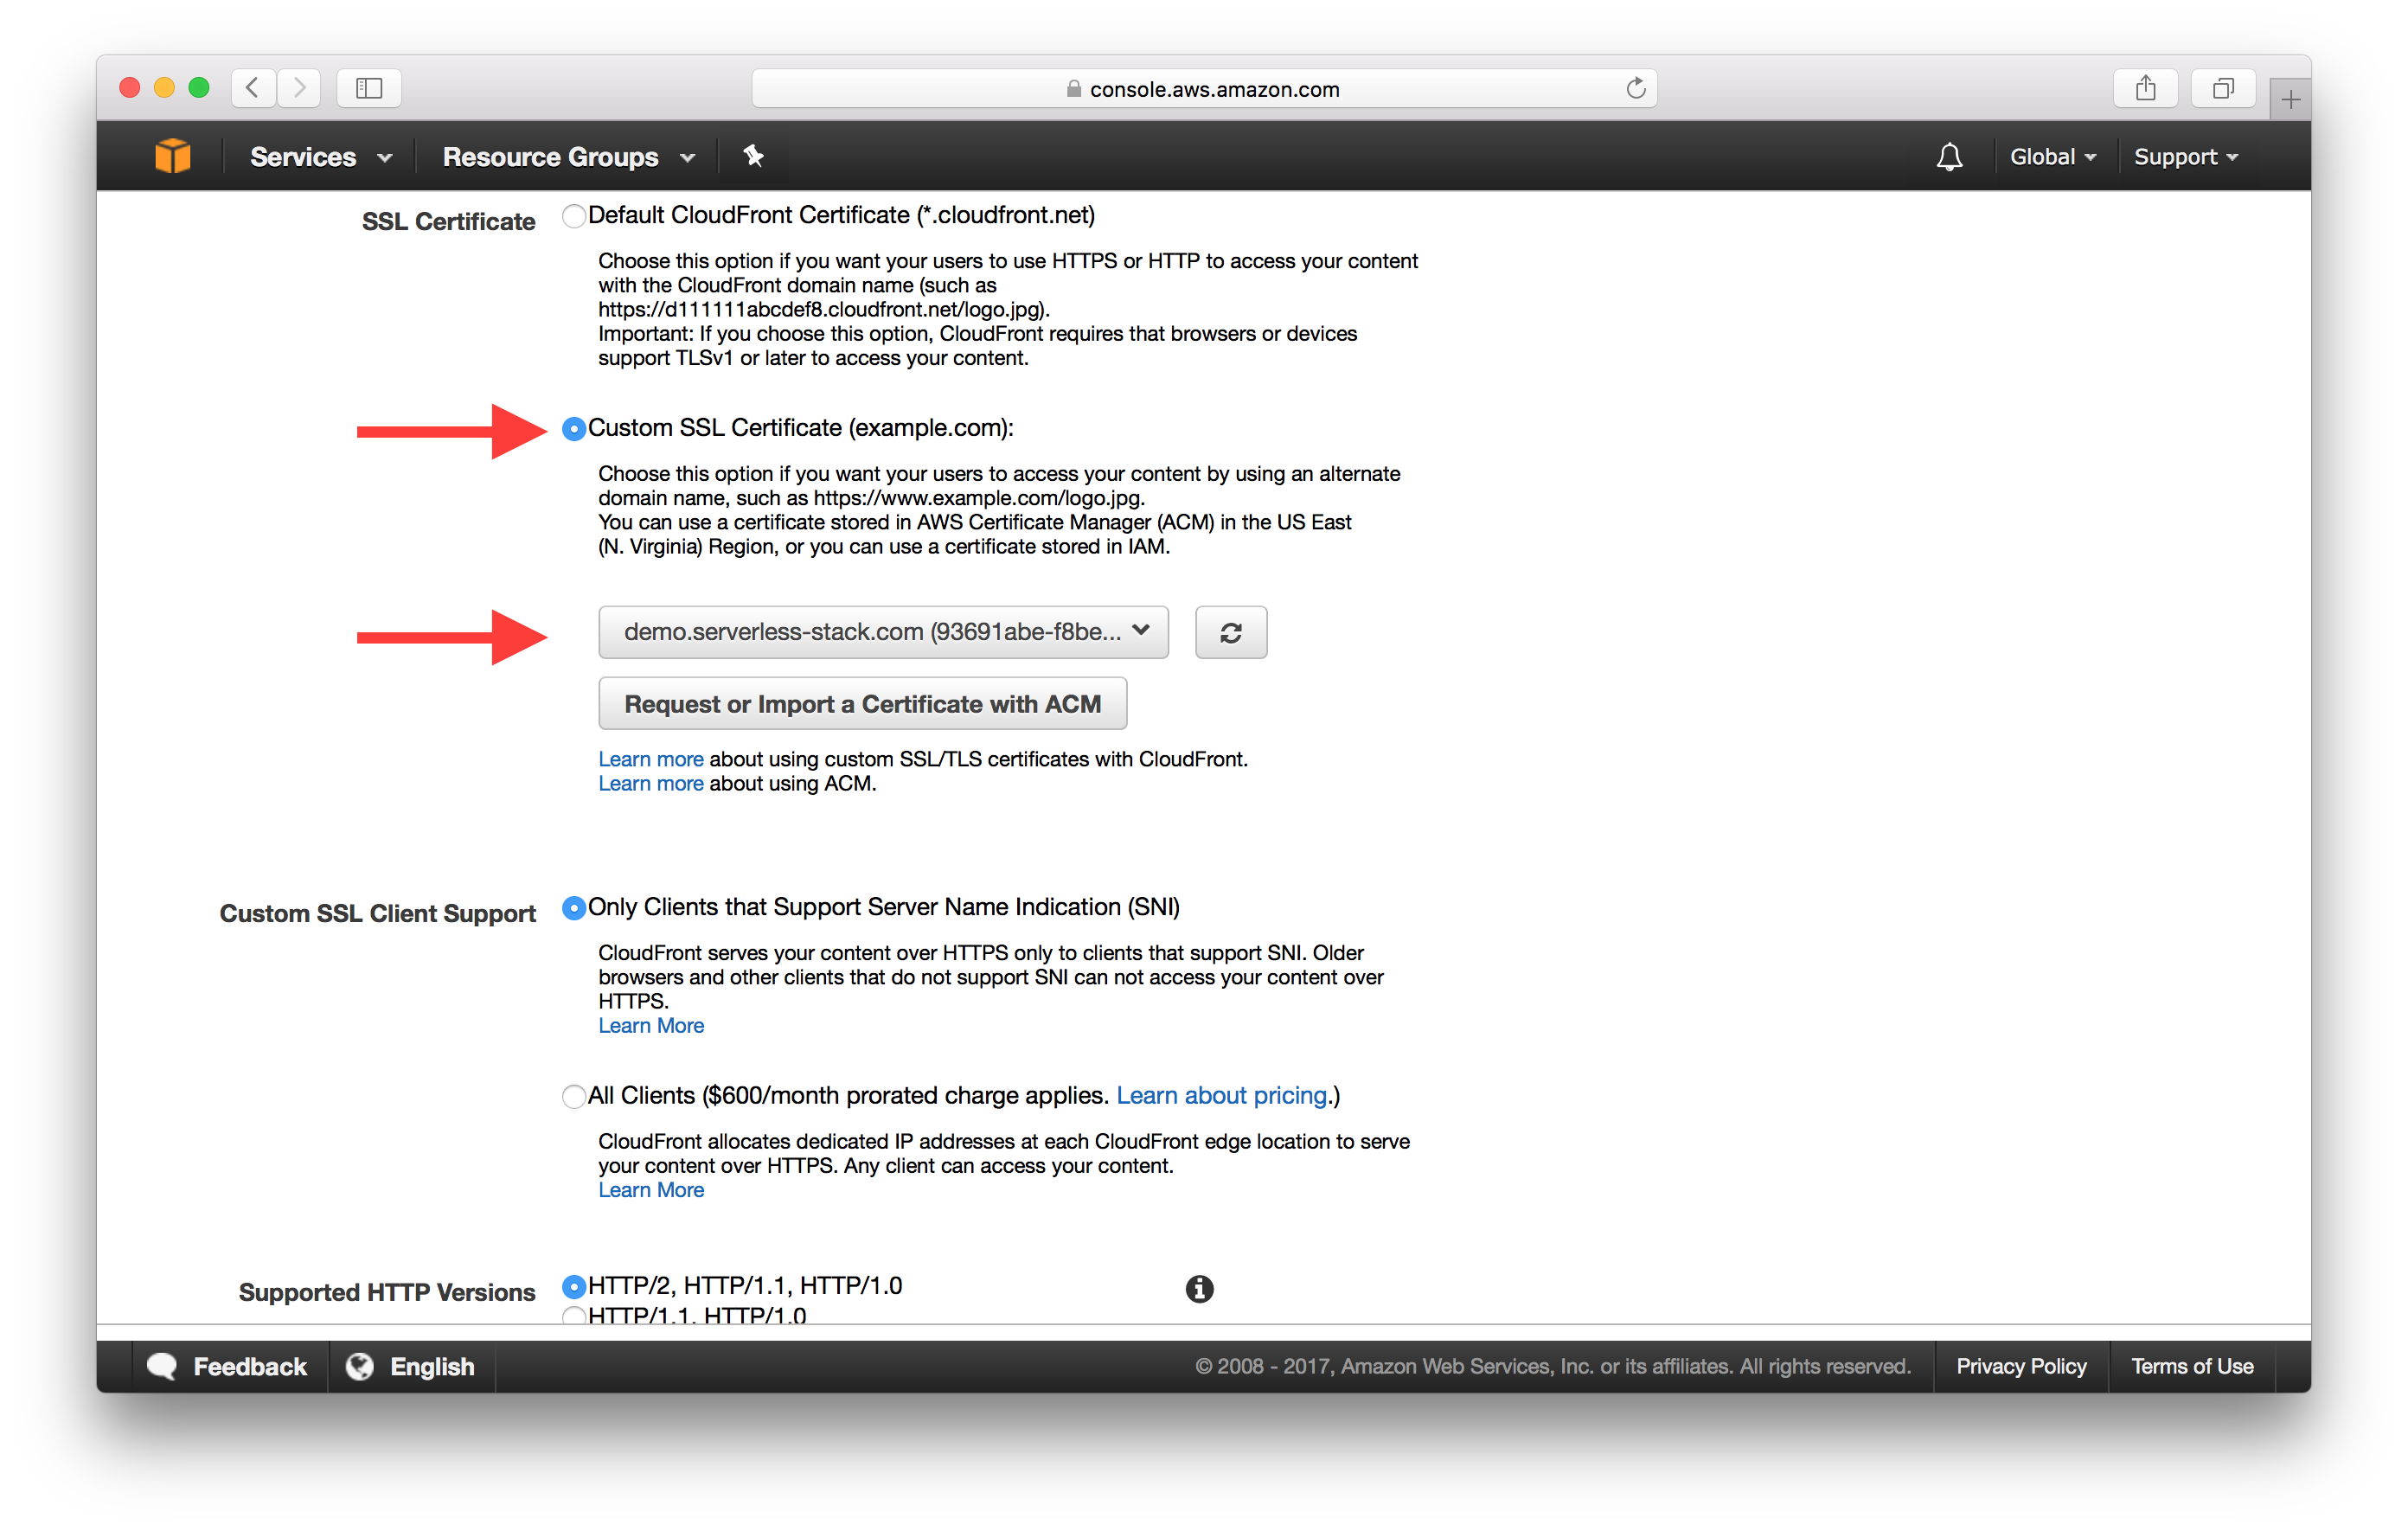
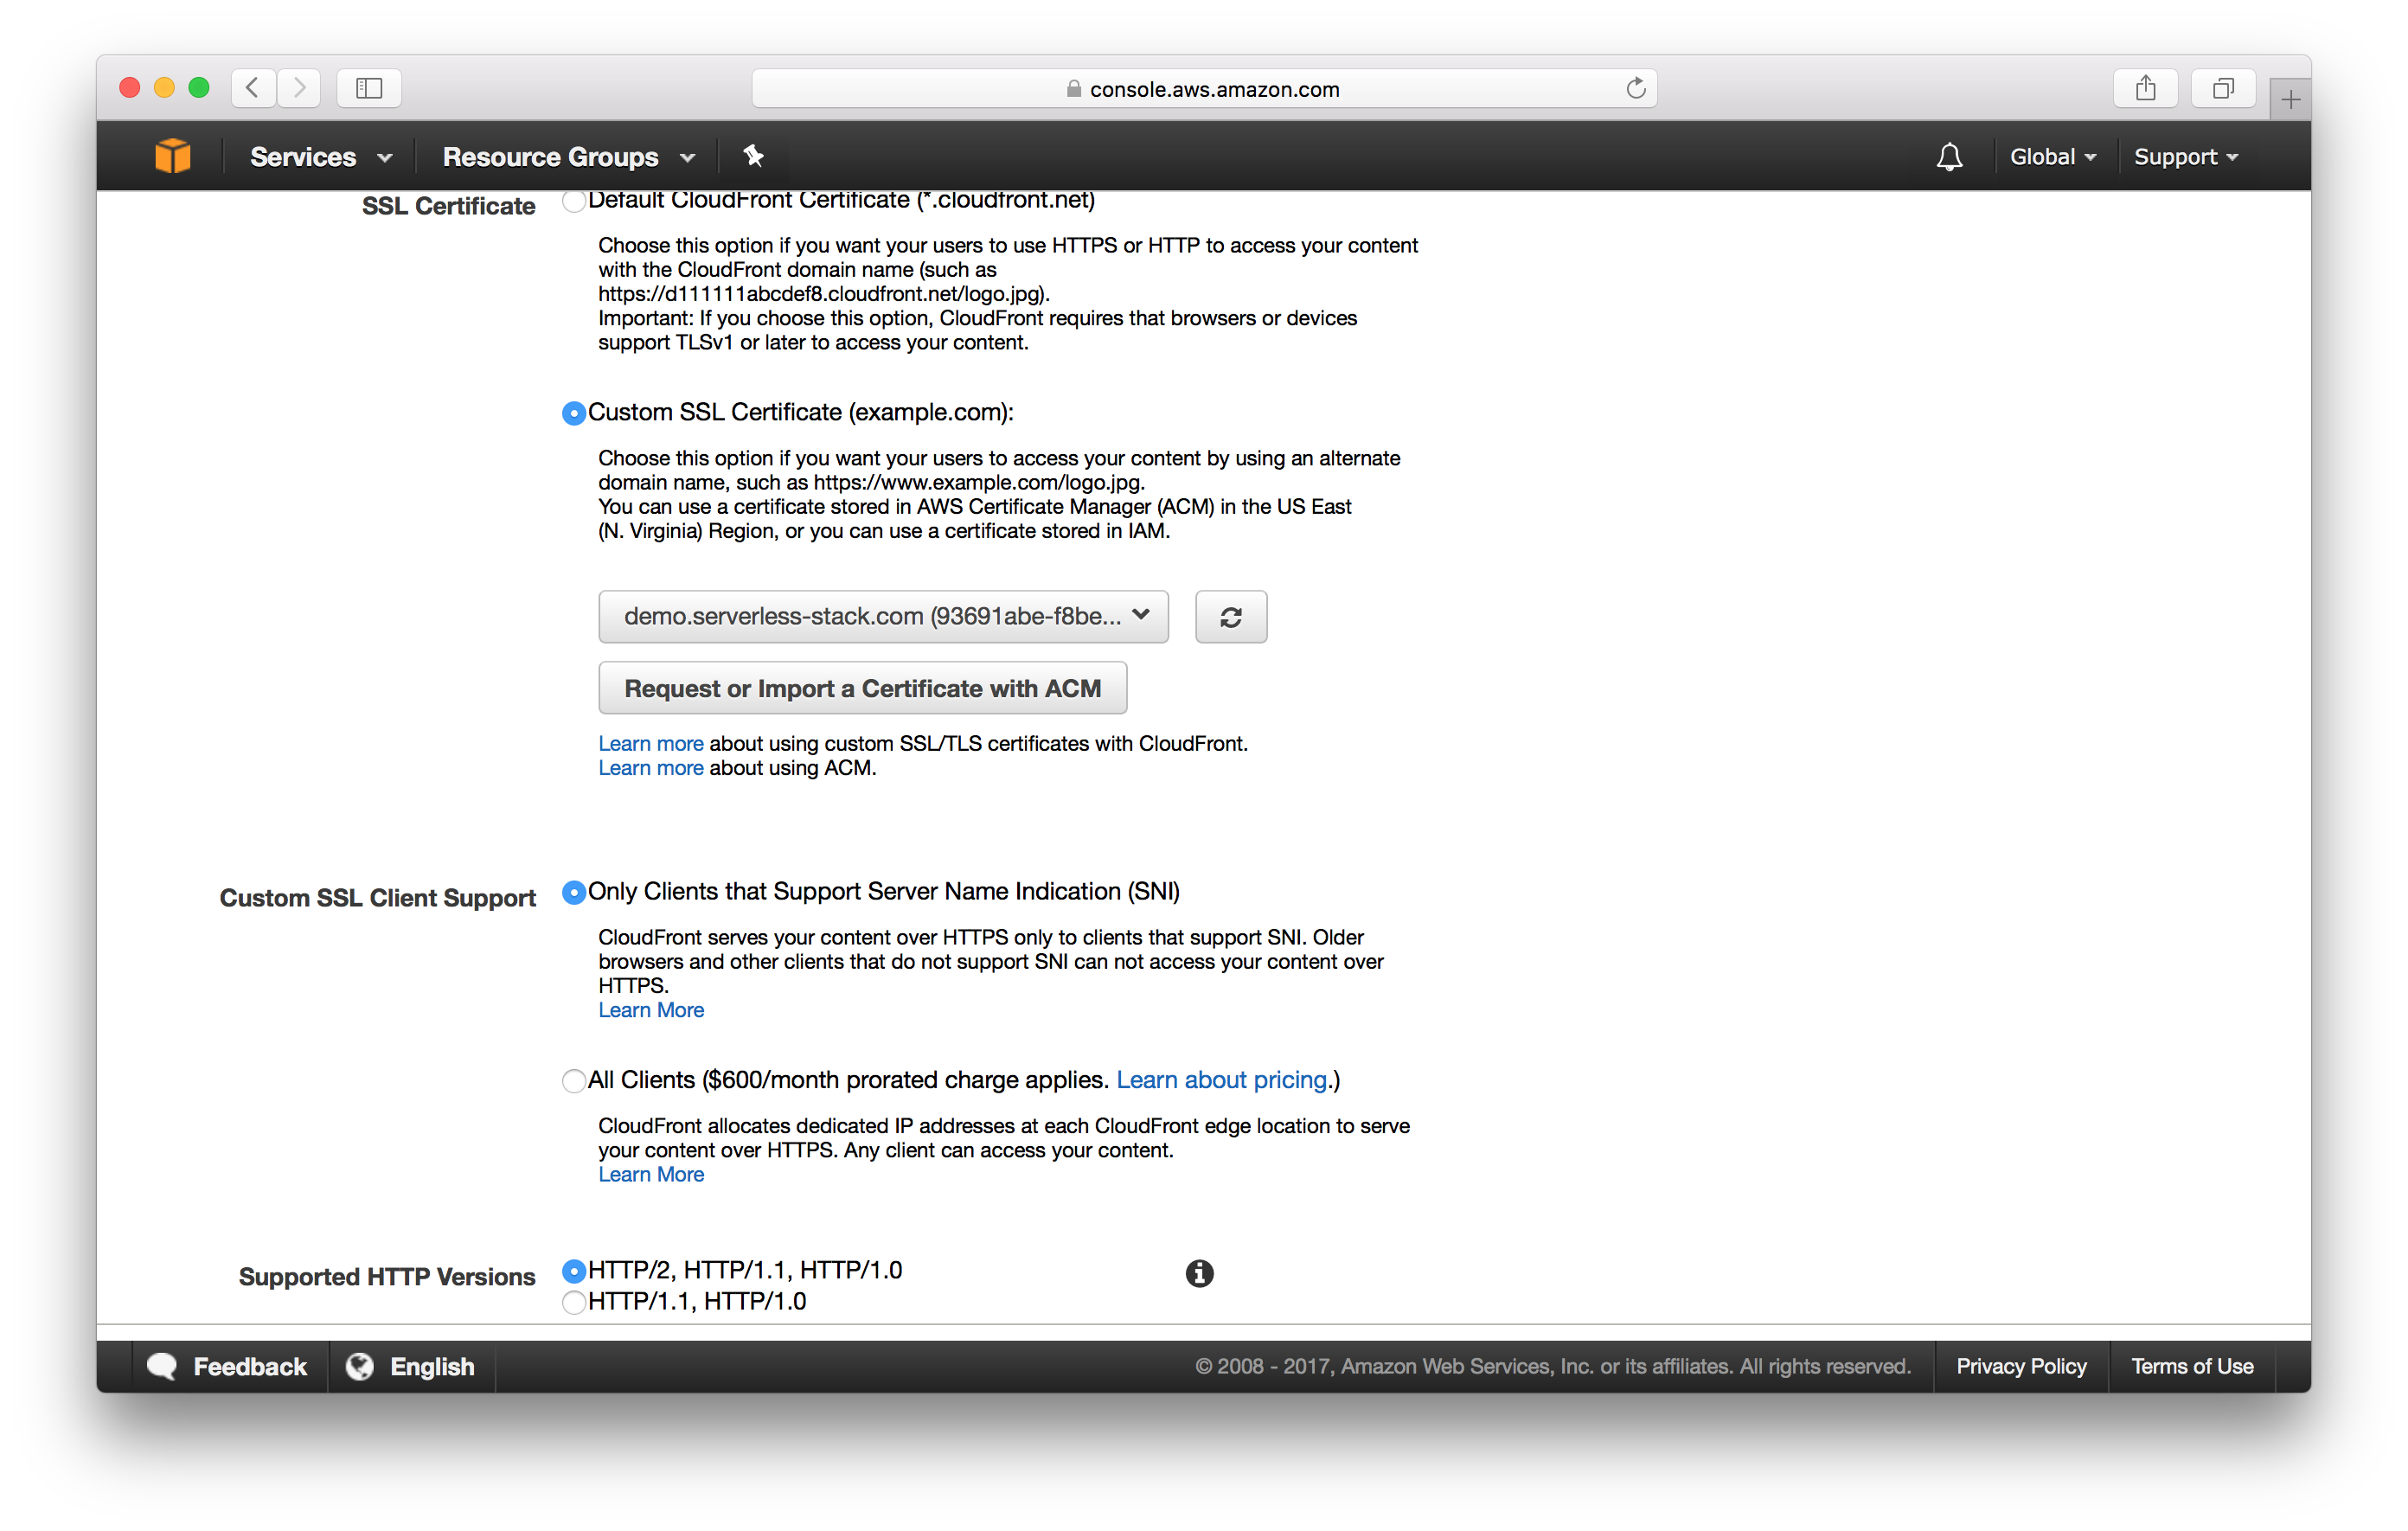
Now switch the SSL Certificate to Custom SSL Certificate and select the certificate we just created from the drop down. And scroll down to the bottom and hit Yes, Edit.
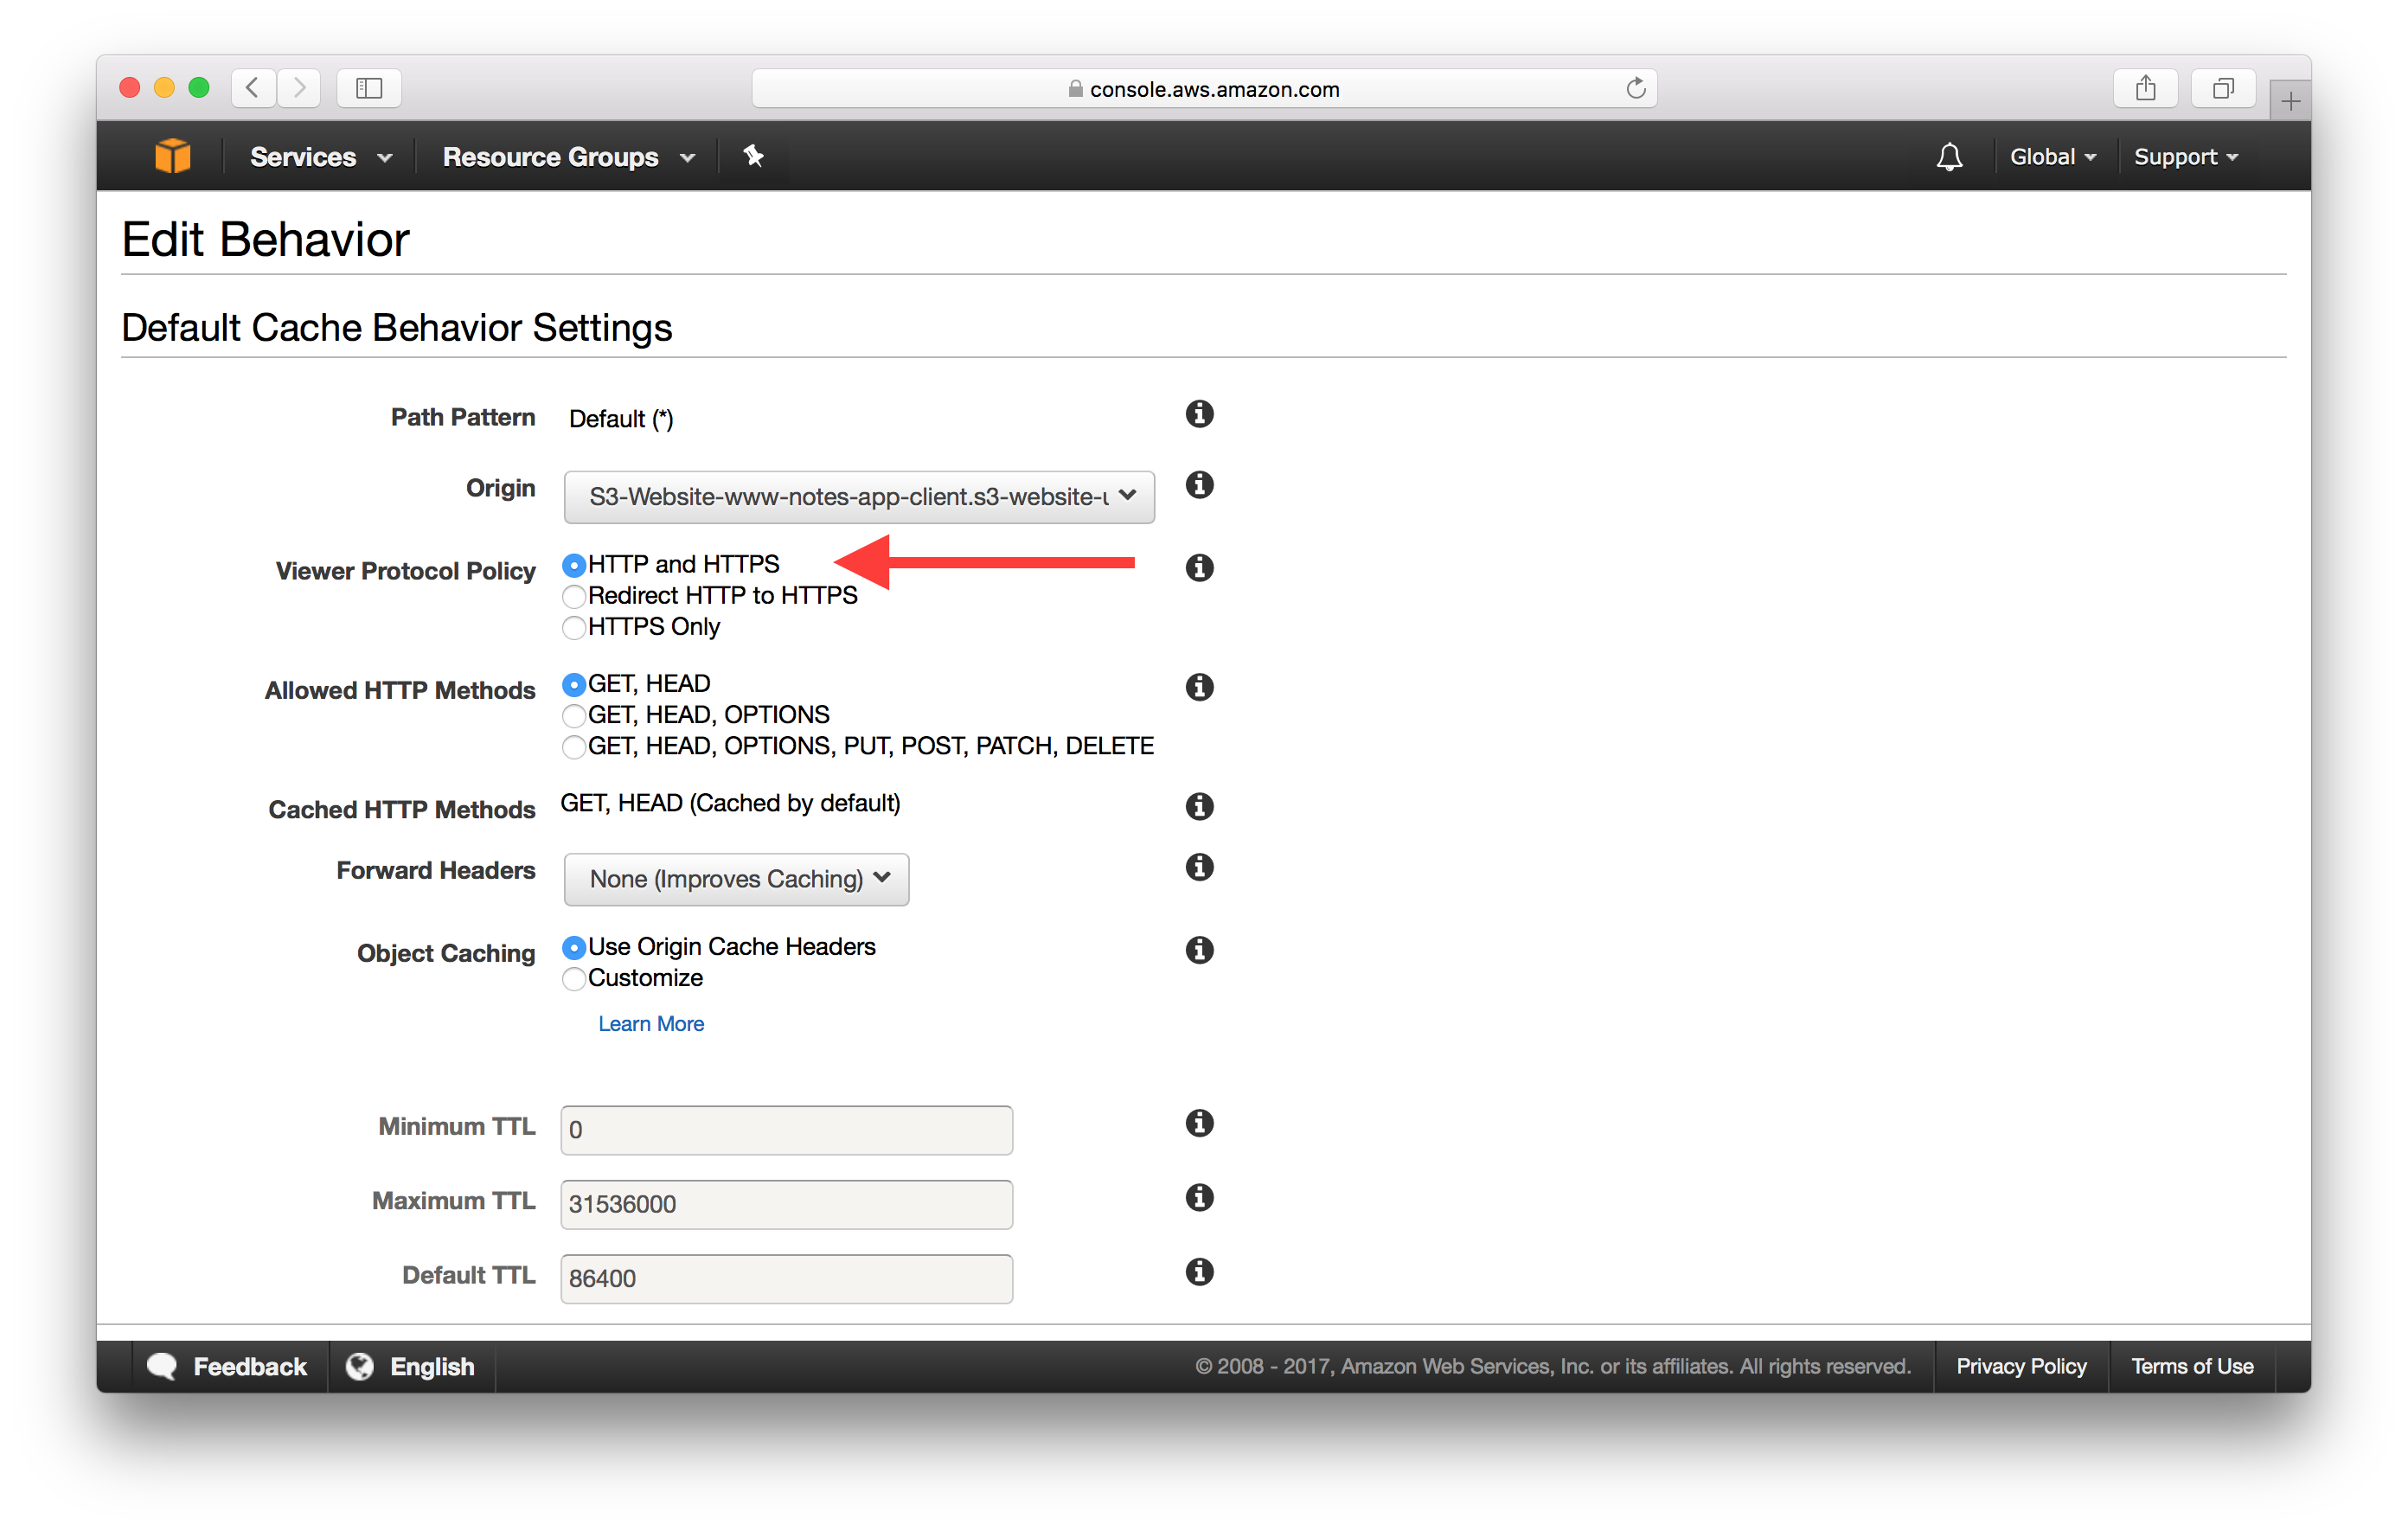
Next, head over to the Behaviors tab from the top.
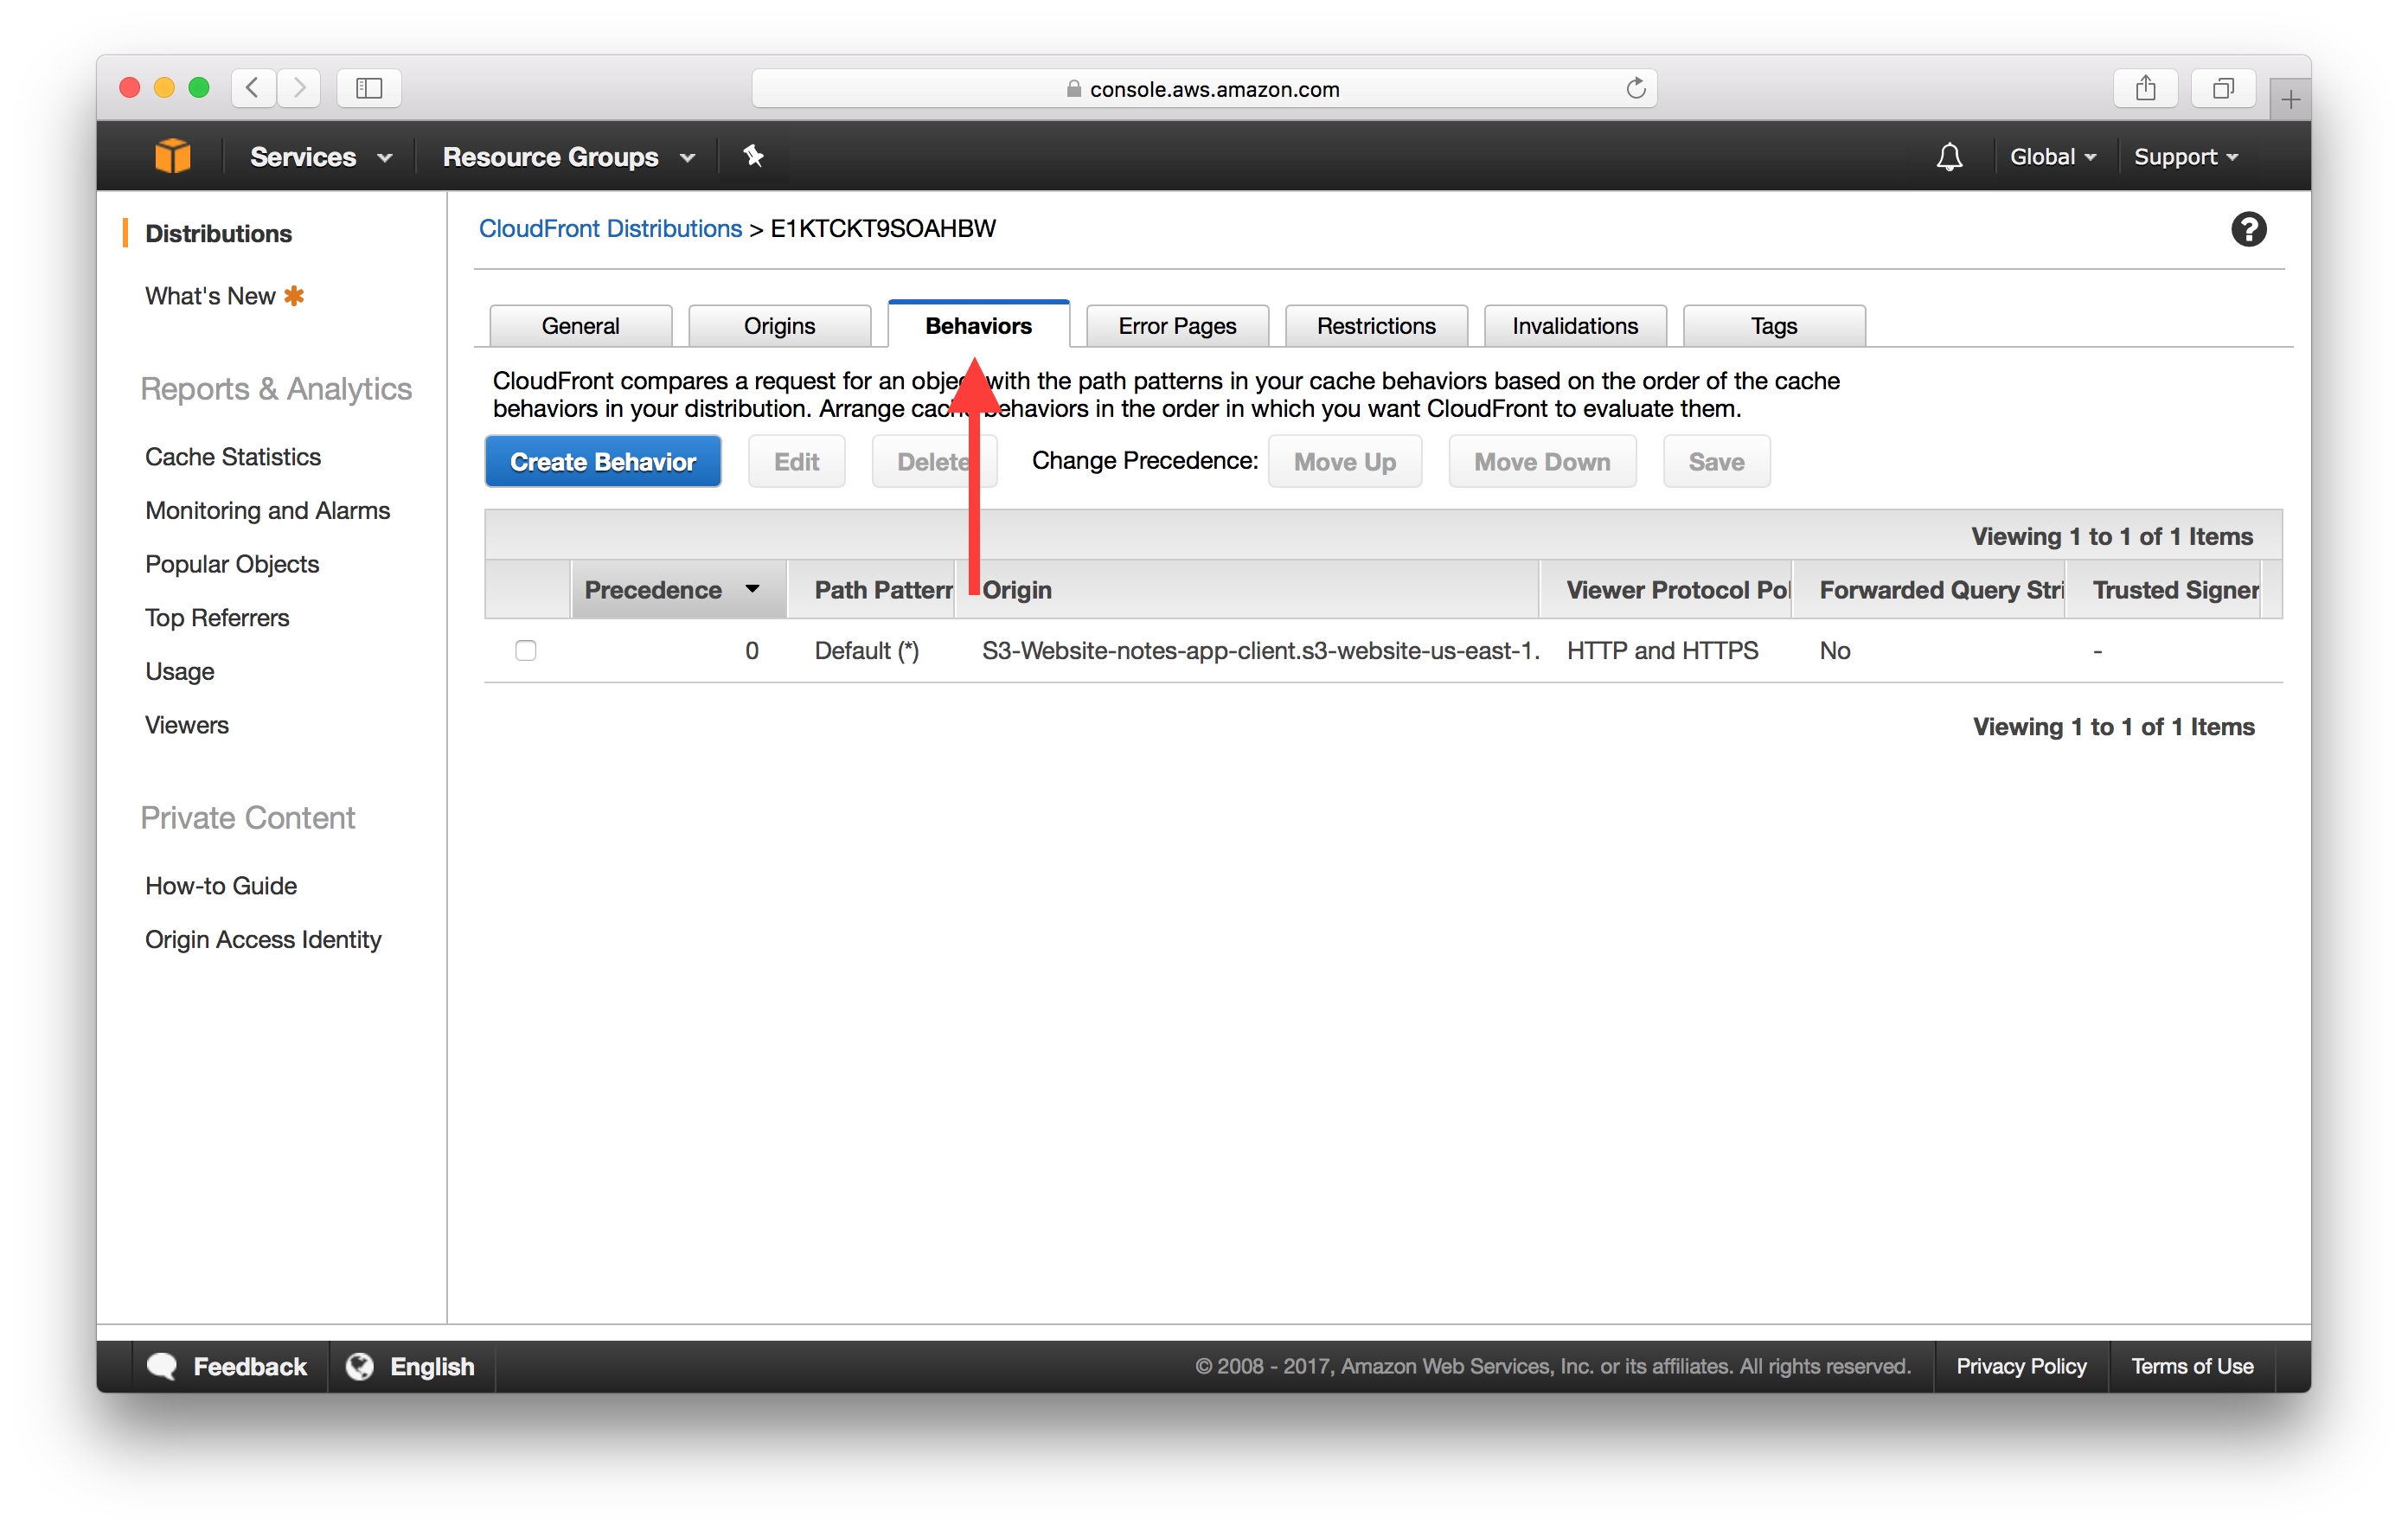
And select the only one we have and hit Edit.
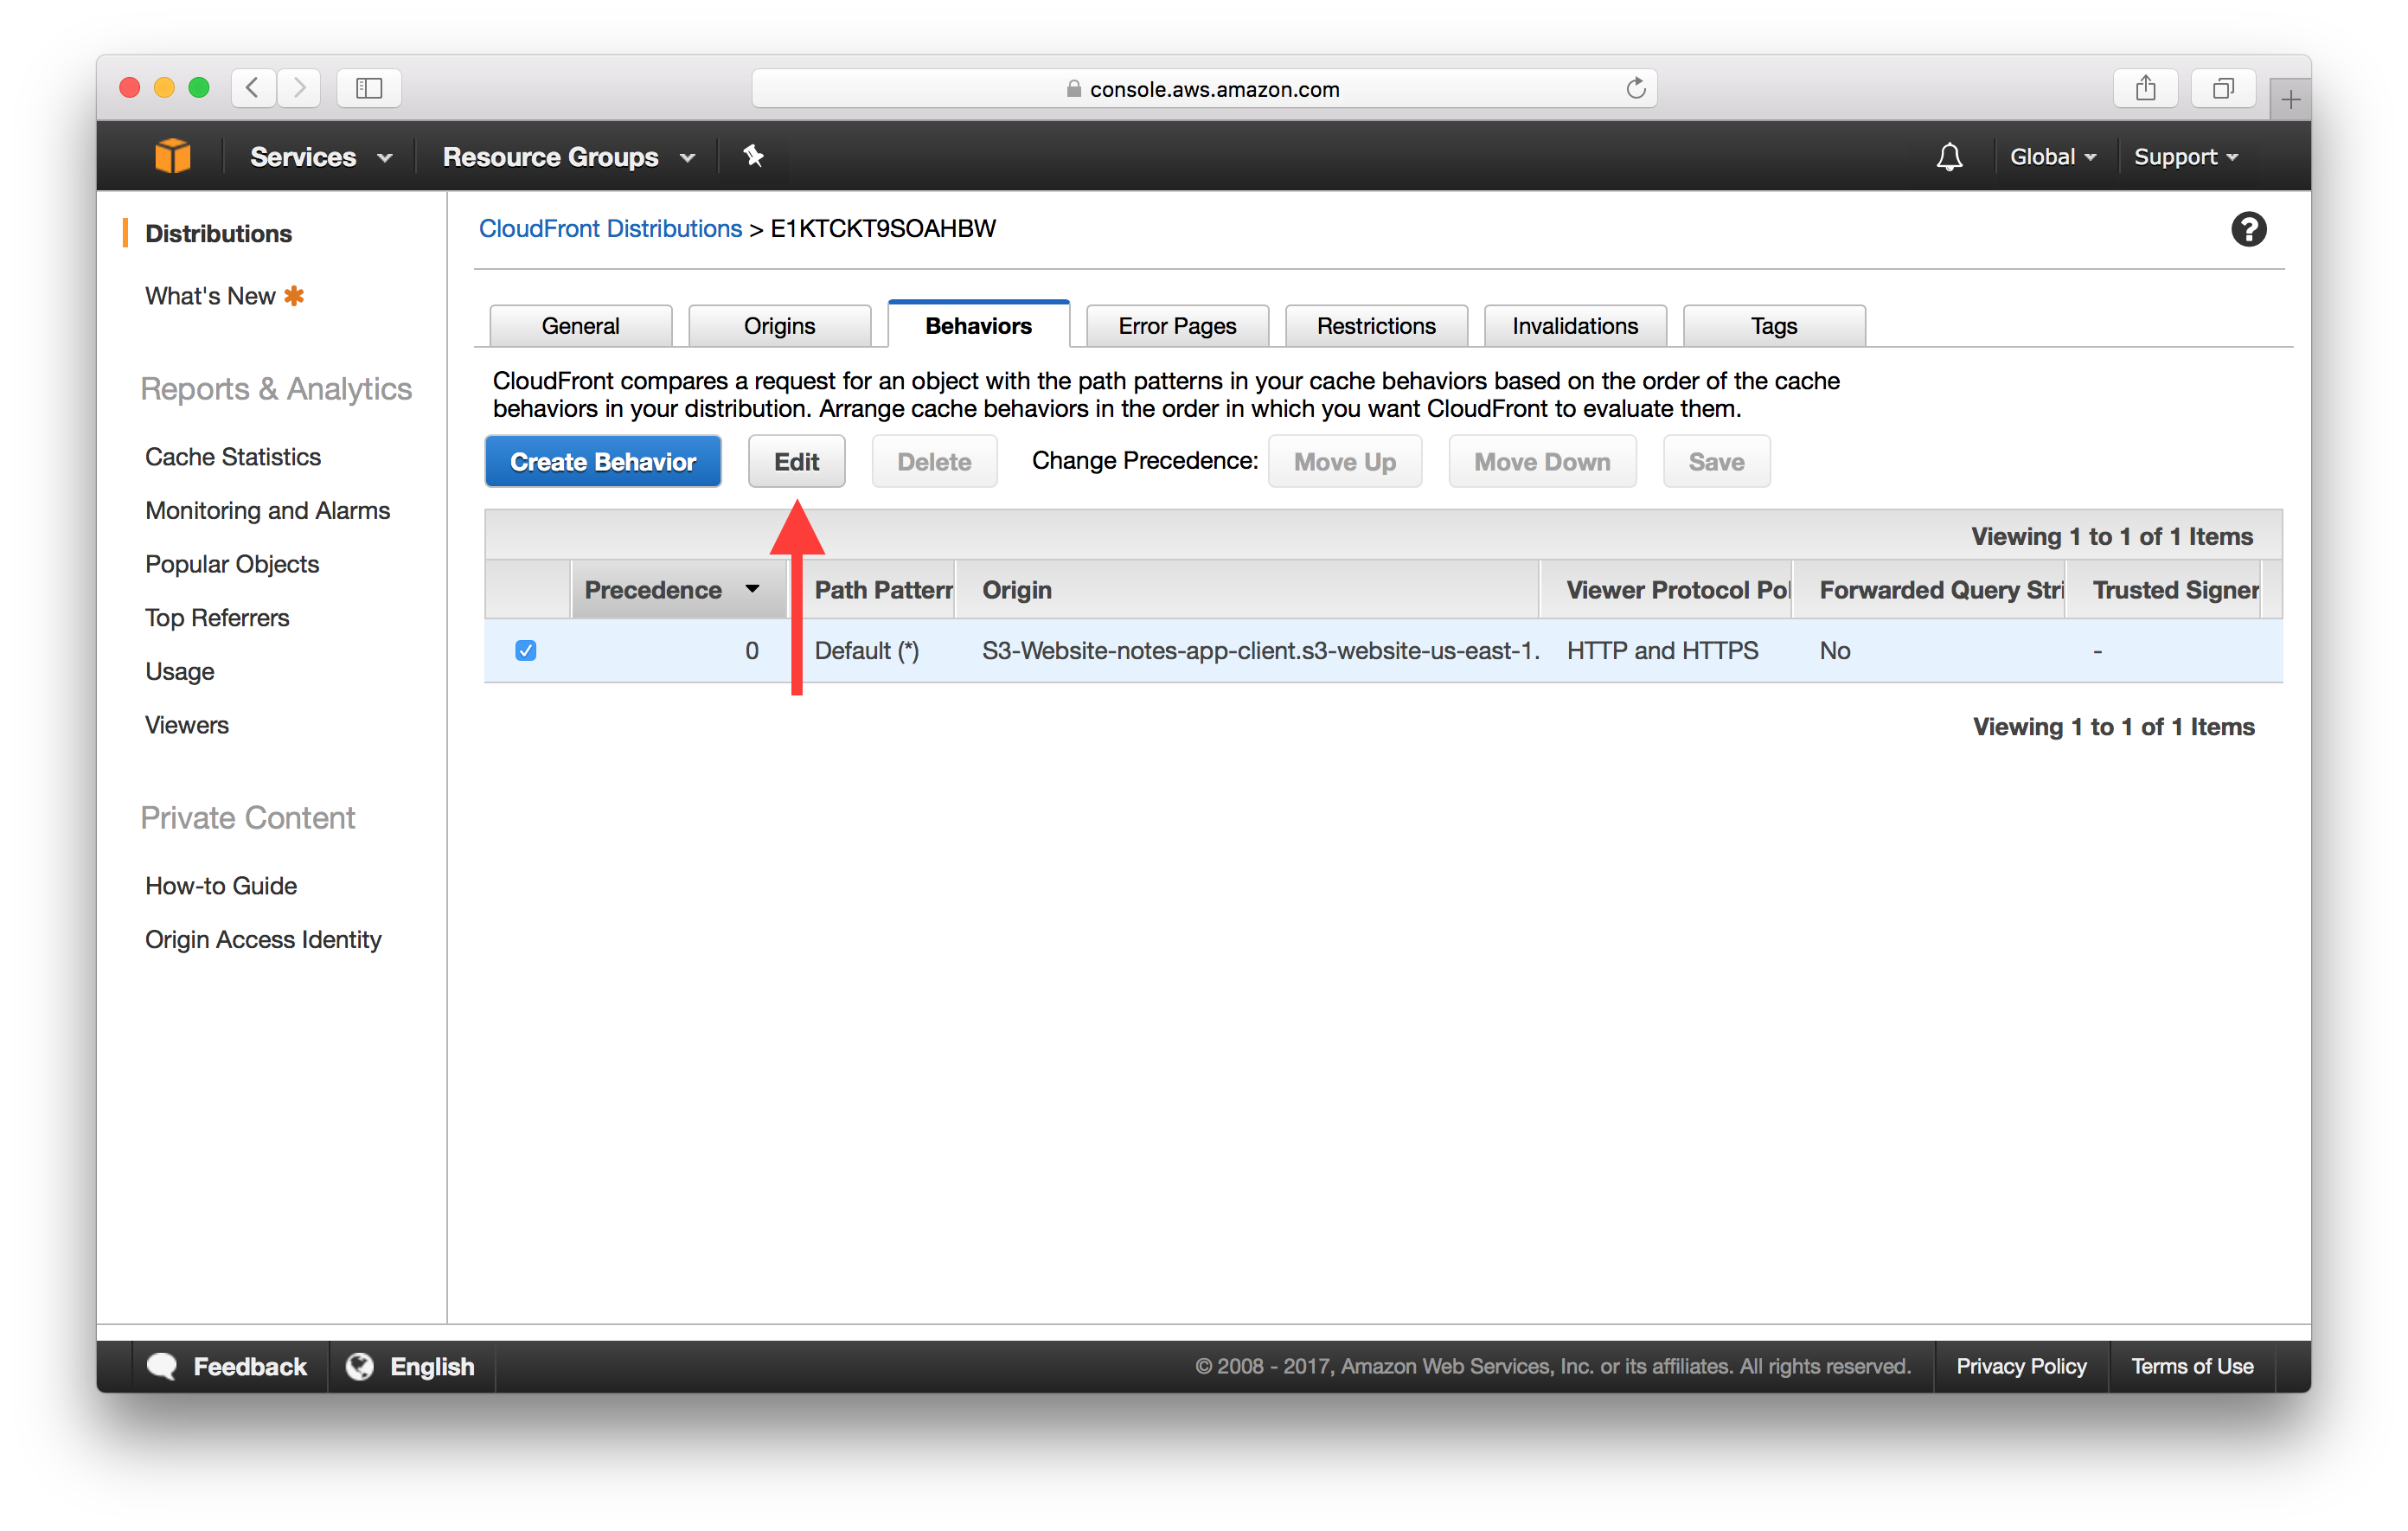
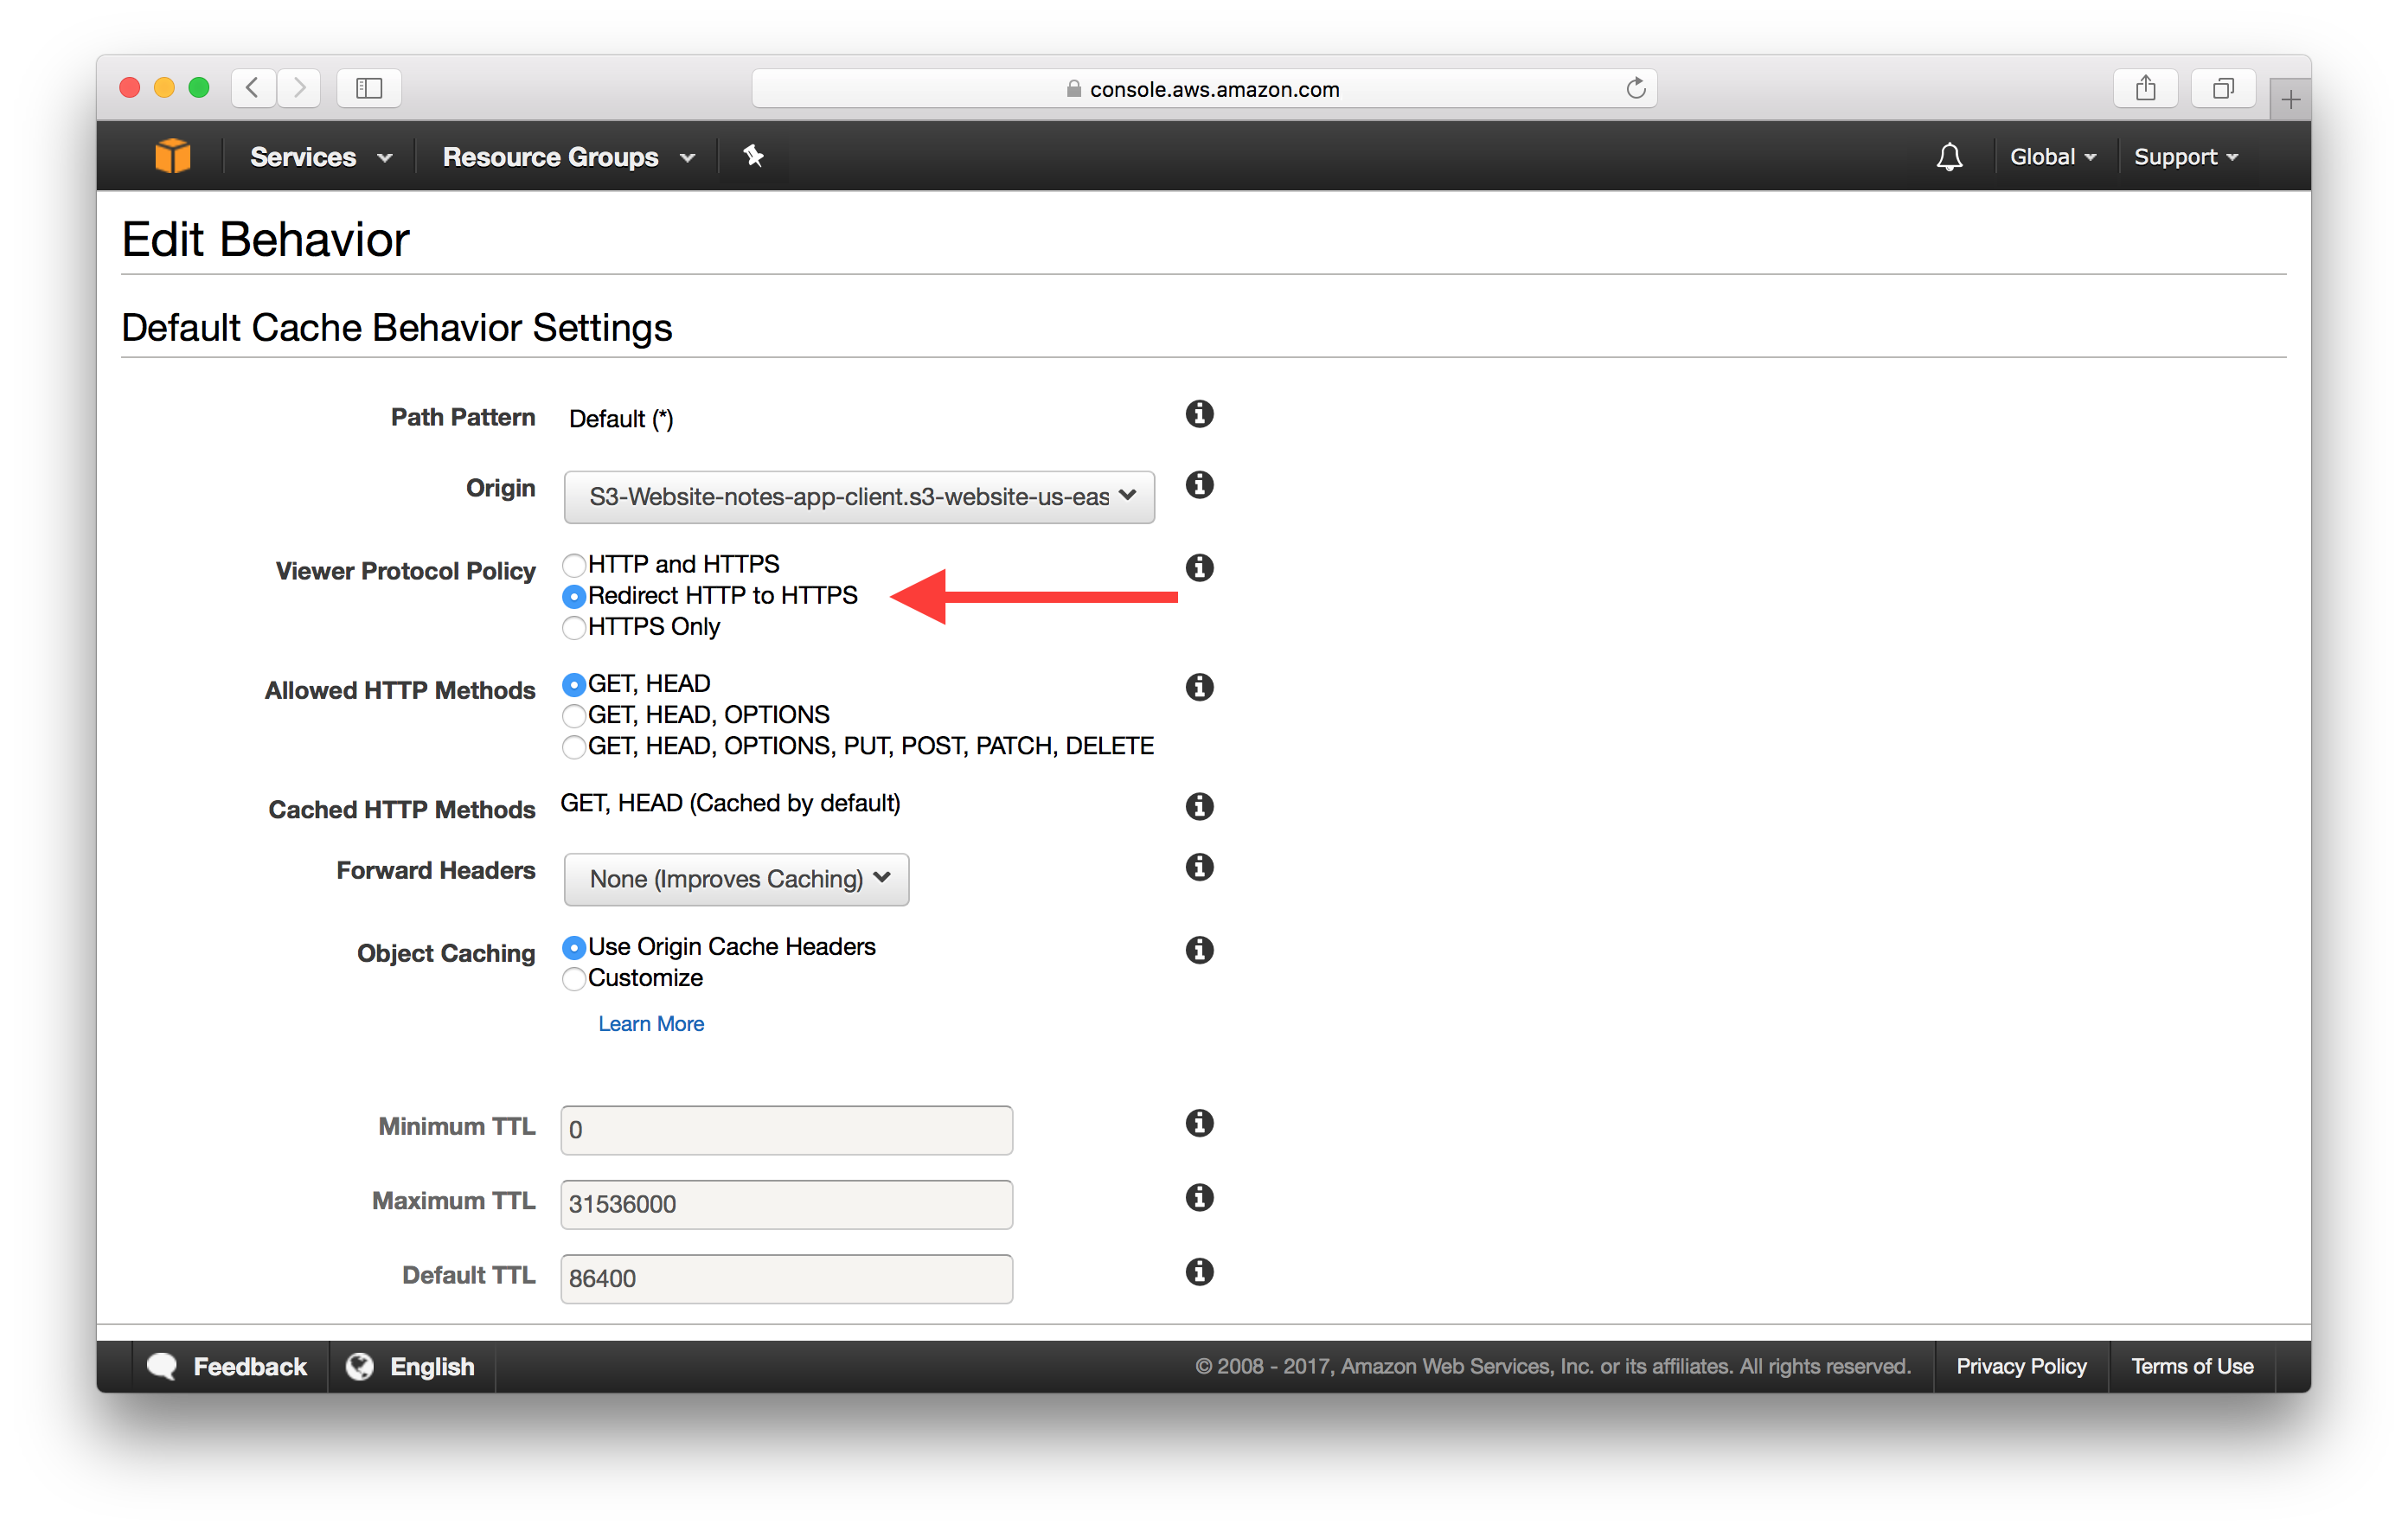
Then switch the Viewer Protocol Policy to Redirect HTTP to HTTPS. And scroll down to the bottom and hit Yes, Edit.
Now let’s do the same for our other CloudFront Distribution.
But leave the Viewer Protocol Policy as HTTP and HTTPS. This is because we want our users to go straight to the HTTPS version of our non-www domain. As opposed to redirecting to the HTTPS version of our www domain before redirecting again.
Update S3 Redirect Bucket
The S3 Redirect Bucket that we created in the last chapter is redirecting to the HTTP version of our non-www domain. We should switch this to the HTTPS version to prevent the extra redirect.
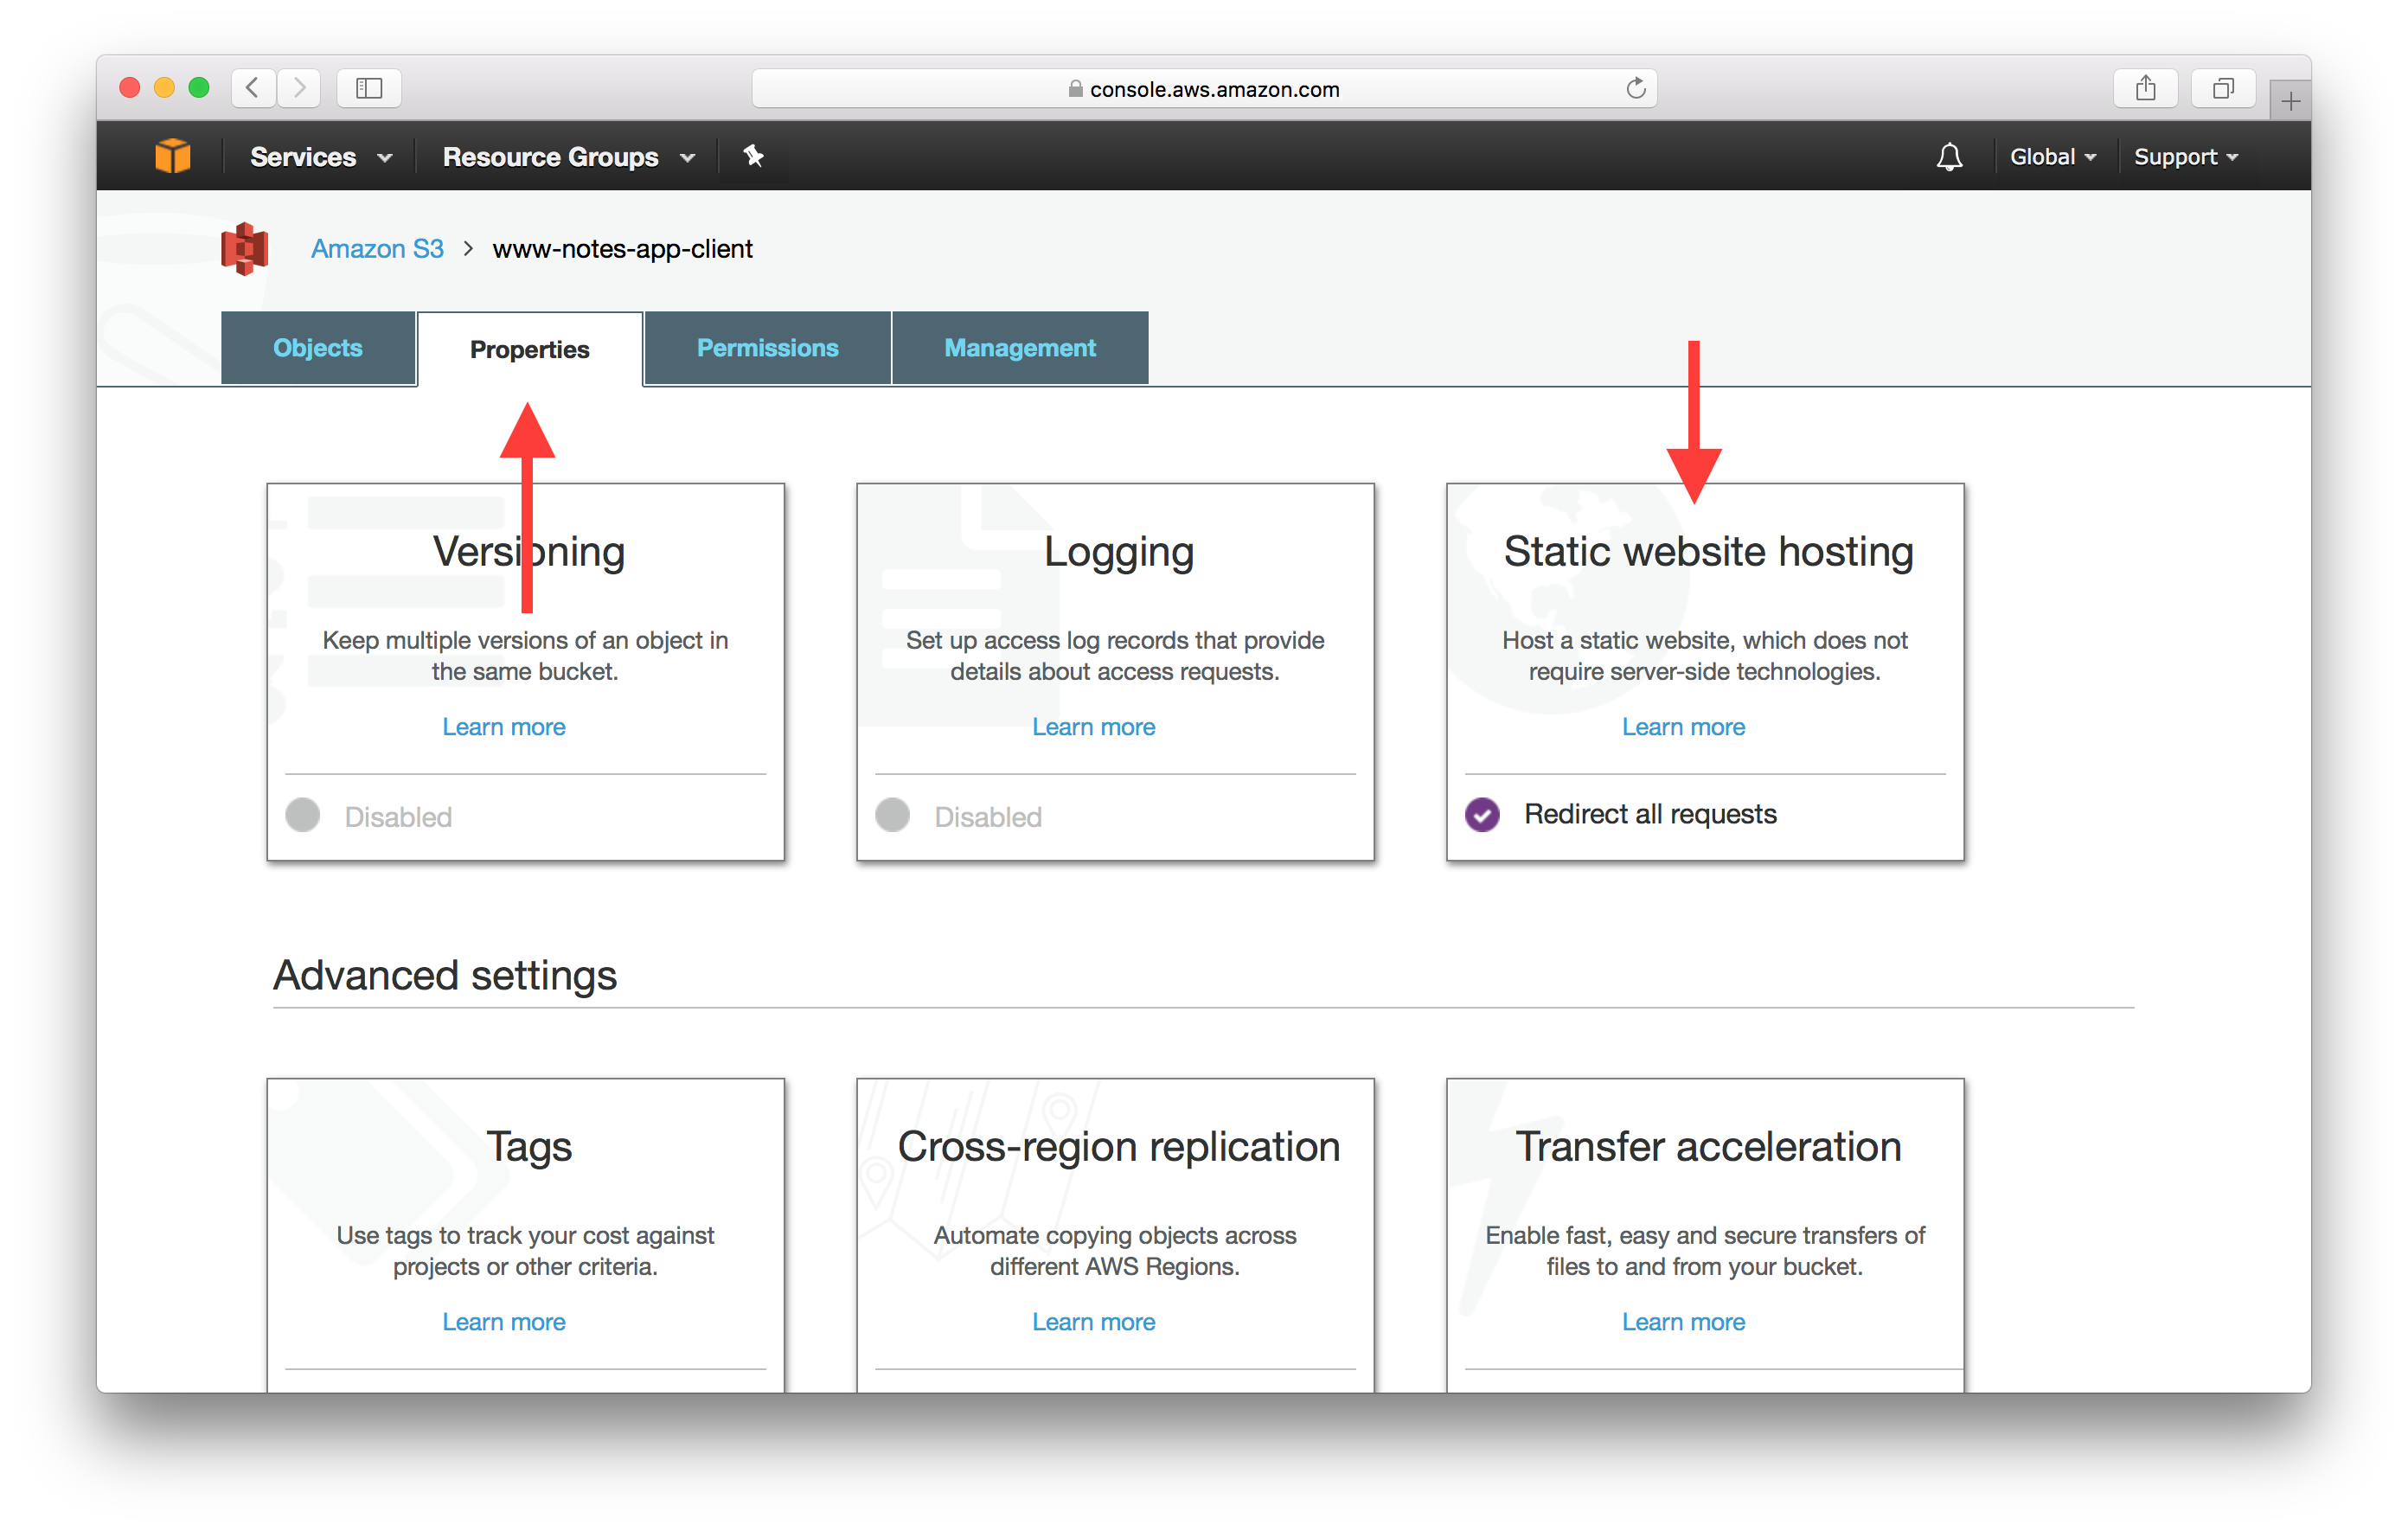
Open up the S3 Redirect Bucket we created in the last chapter. Head over to the Properties tab and select Static website hosting.
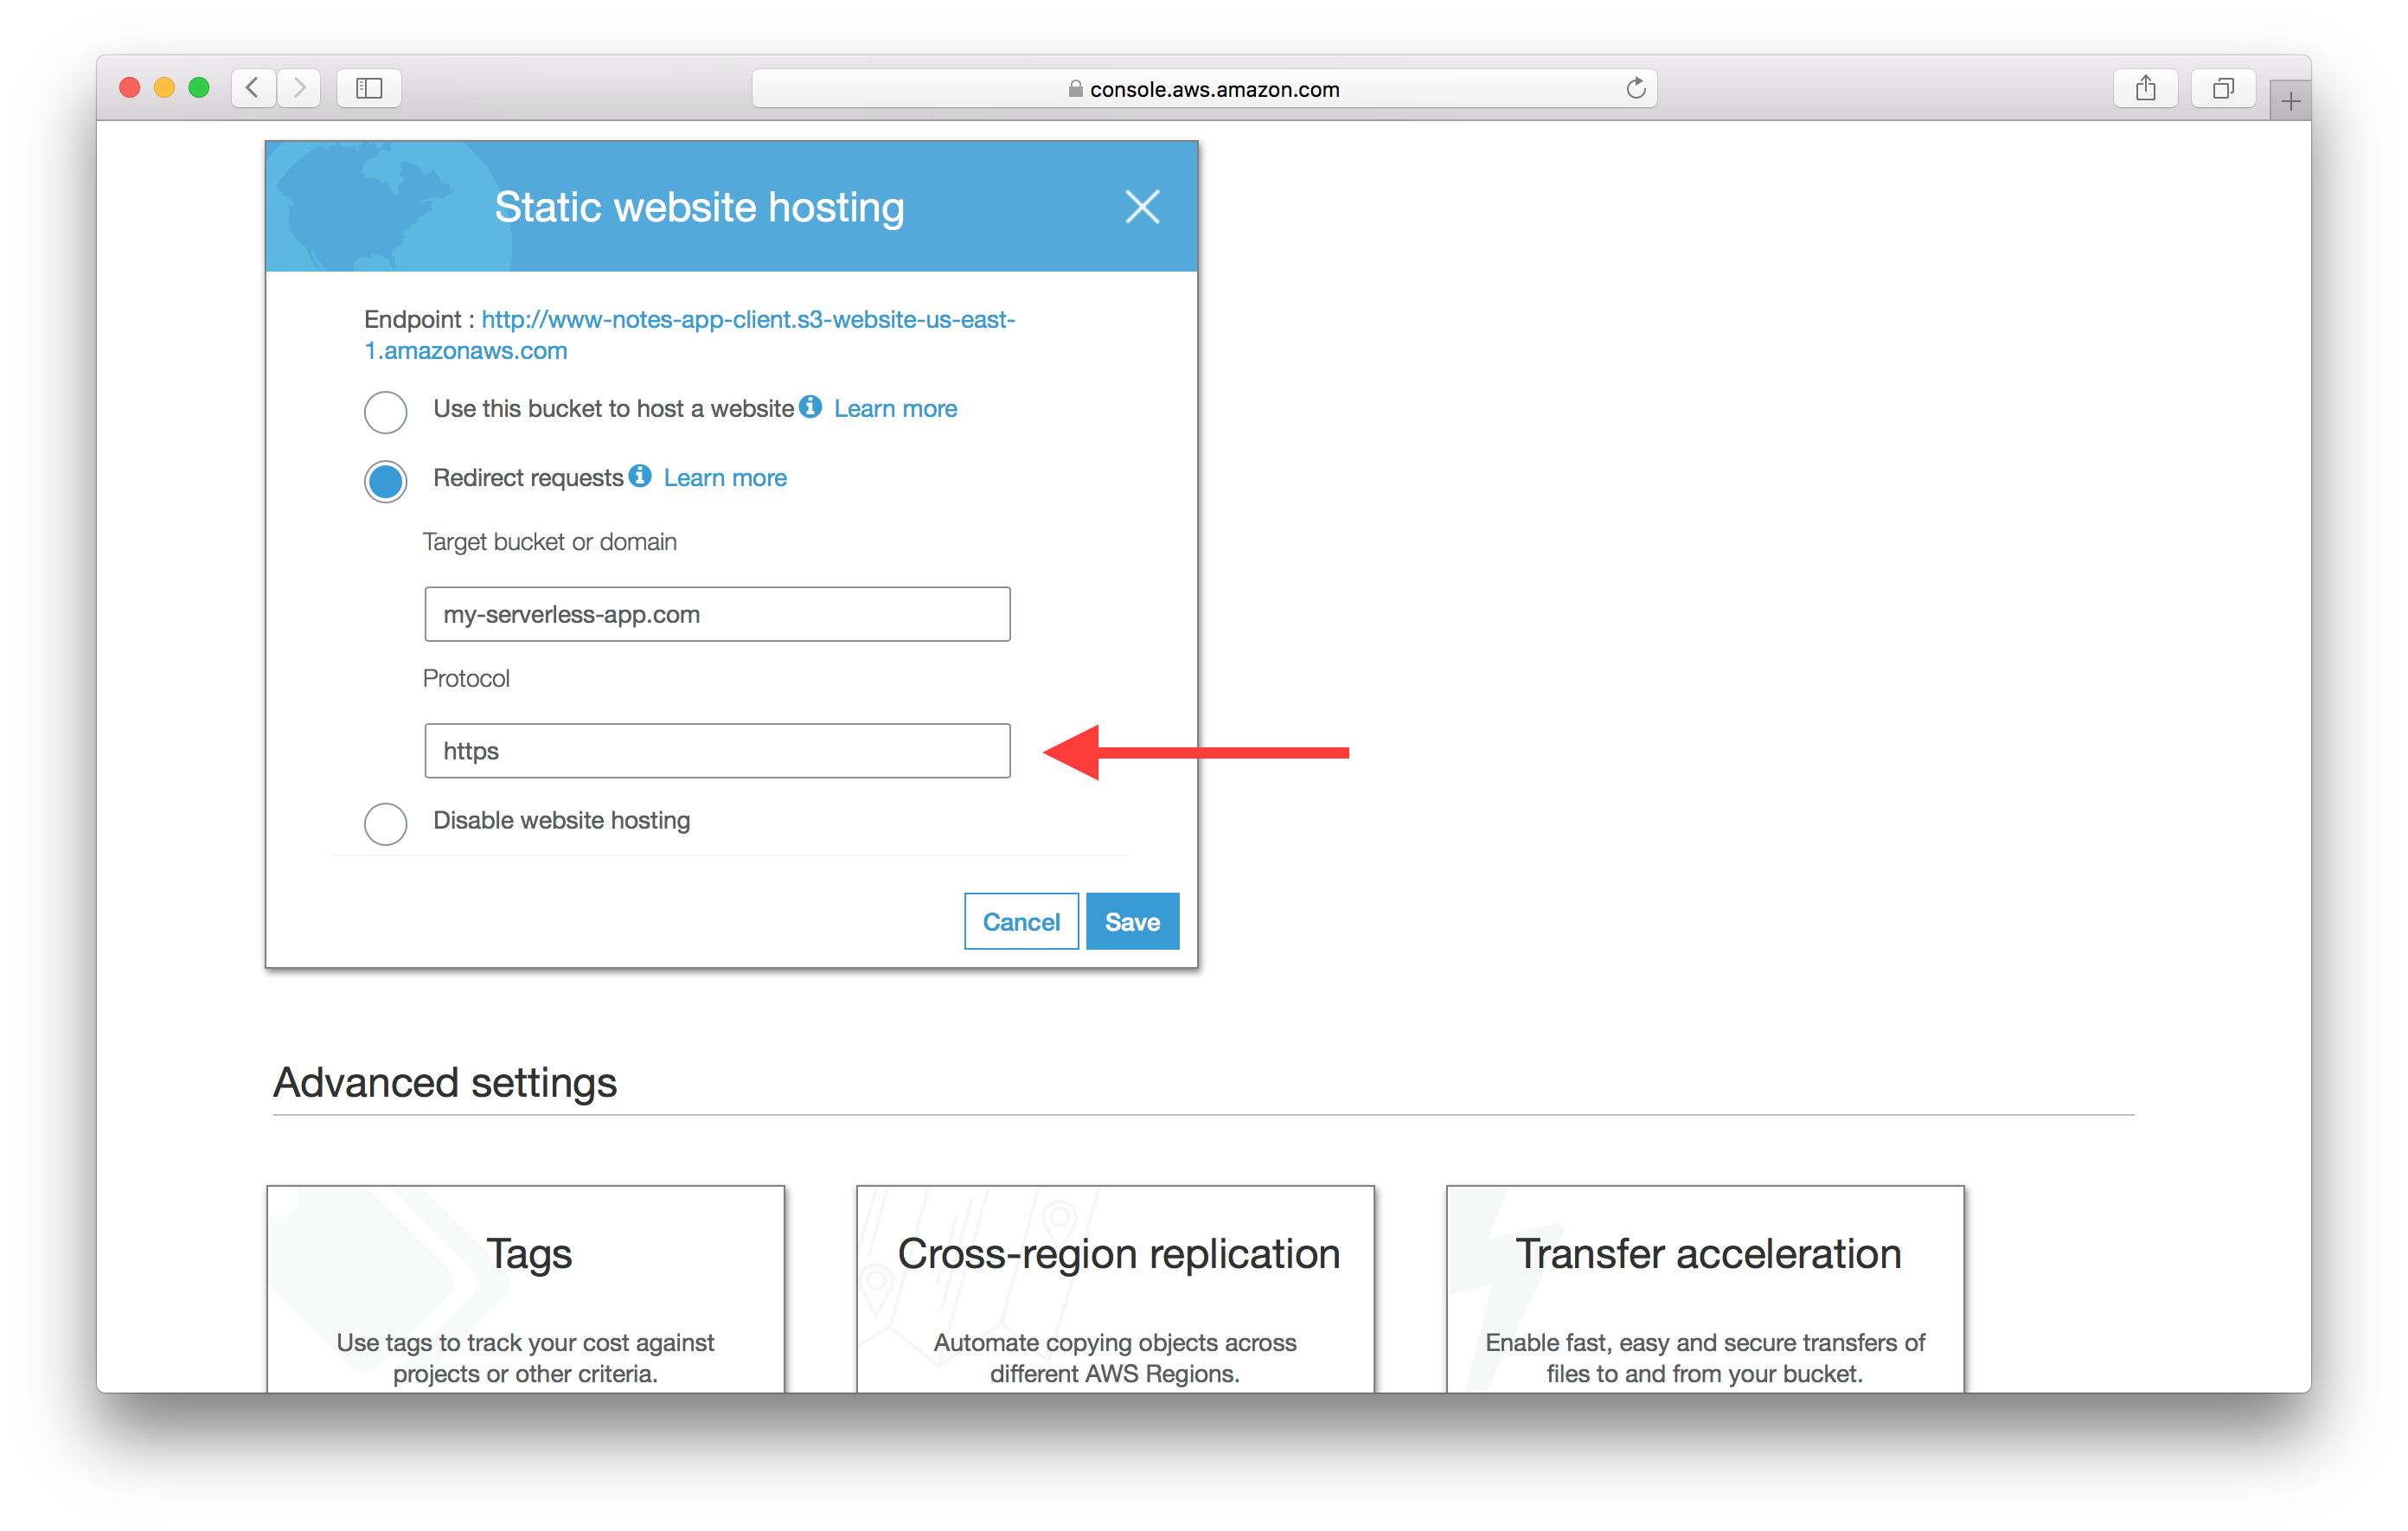
Change the Protocol to https and hit Save.
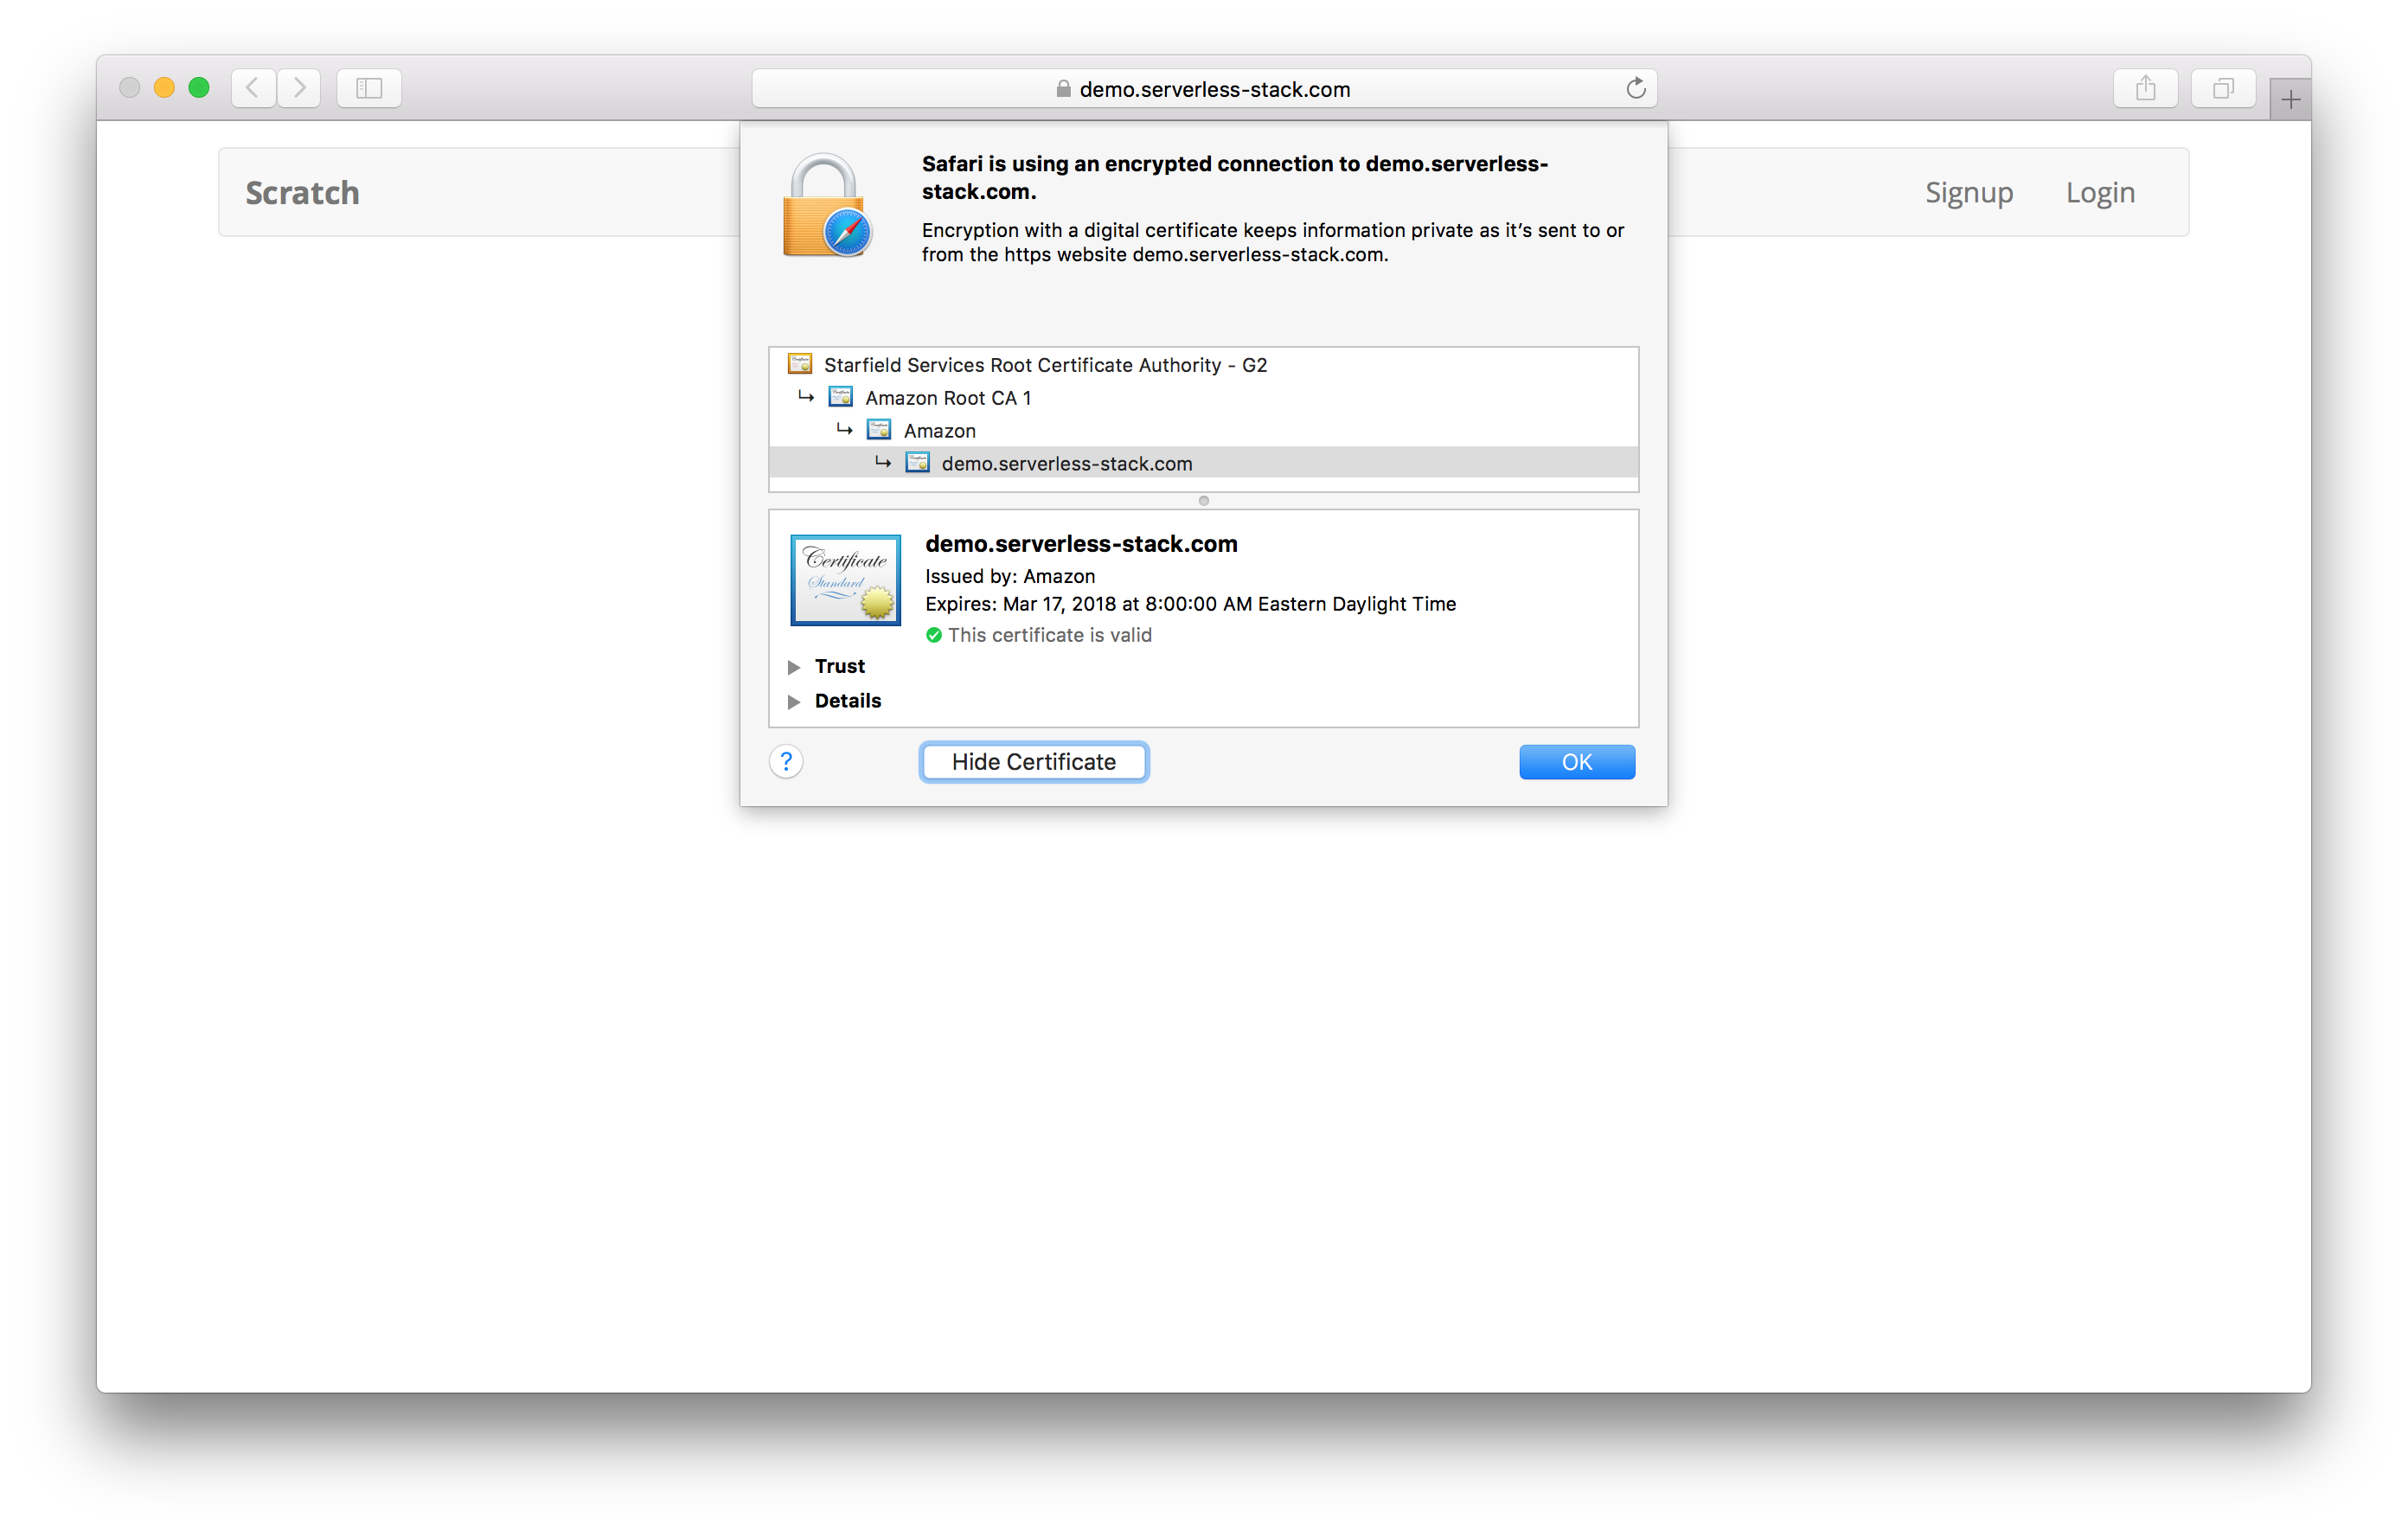
And that’s it. Our app should be served out on our domain through HTTPS.
Next up, let’s look at the process of deploying updates to our app.
If you liked this post, please subscribe to our newsletter and give us a star on GitHub.
For help and discussion
Comments on this chapter