Save Changes to a Note
Now that our note loads into our form, let’s work on saving the changes we make to that note.
 Replace the
 handleSubmit method in src/containers/Notes.js with the following.
saveNote(note) {
  return invokeApig({
    path: `/notes/${this.props.match.params.id}`,
    method: "PUT",
    body: note
  });
}

handleSubmit = async event => {
  let uploadedFilename;

  event.preventDefault();

  if (this.file && this.file.size > config.MAX_ATTACHMENT_SIZE) {
    alert("Please pick a file smaller than 5MB");
    return;
  }

  this.setState({ isLoading: true });

  try {
    if (this.file) {
      uploadedFilename = (await s3Upload(this.file))
        .Location;
    }

    await this.saveNote({
      ...this.state.note,
      content: this.state.content,
      attachment: uploadedFilename || this.state.note.attachment
    });
    this.props.history.push("/");
  } catch (e) {
    alert(e);
    this.setState({ isLoading: false });
  }
}
And include our s3Upload helper method in the header:
import { invokeApig, s3Upload } from "../libs/awsLib";
The code above is doing a couple of things that should be very similar to what we did in the NewNote container.
-
If there is a file to upload we call
s3Uploadto upload it and save the URL. -
We save the note by making
PUTrequest with the note object to/notes/note_idwhere we get the note_id fromthis.props.match.params.id. -
And on success we redirect the user to the homepage.
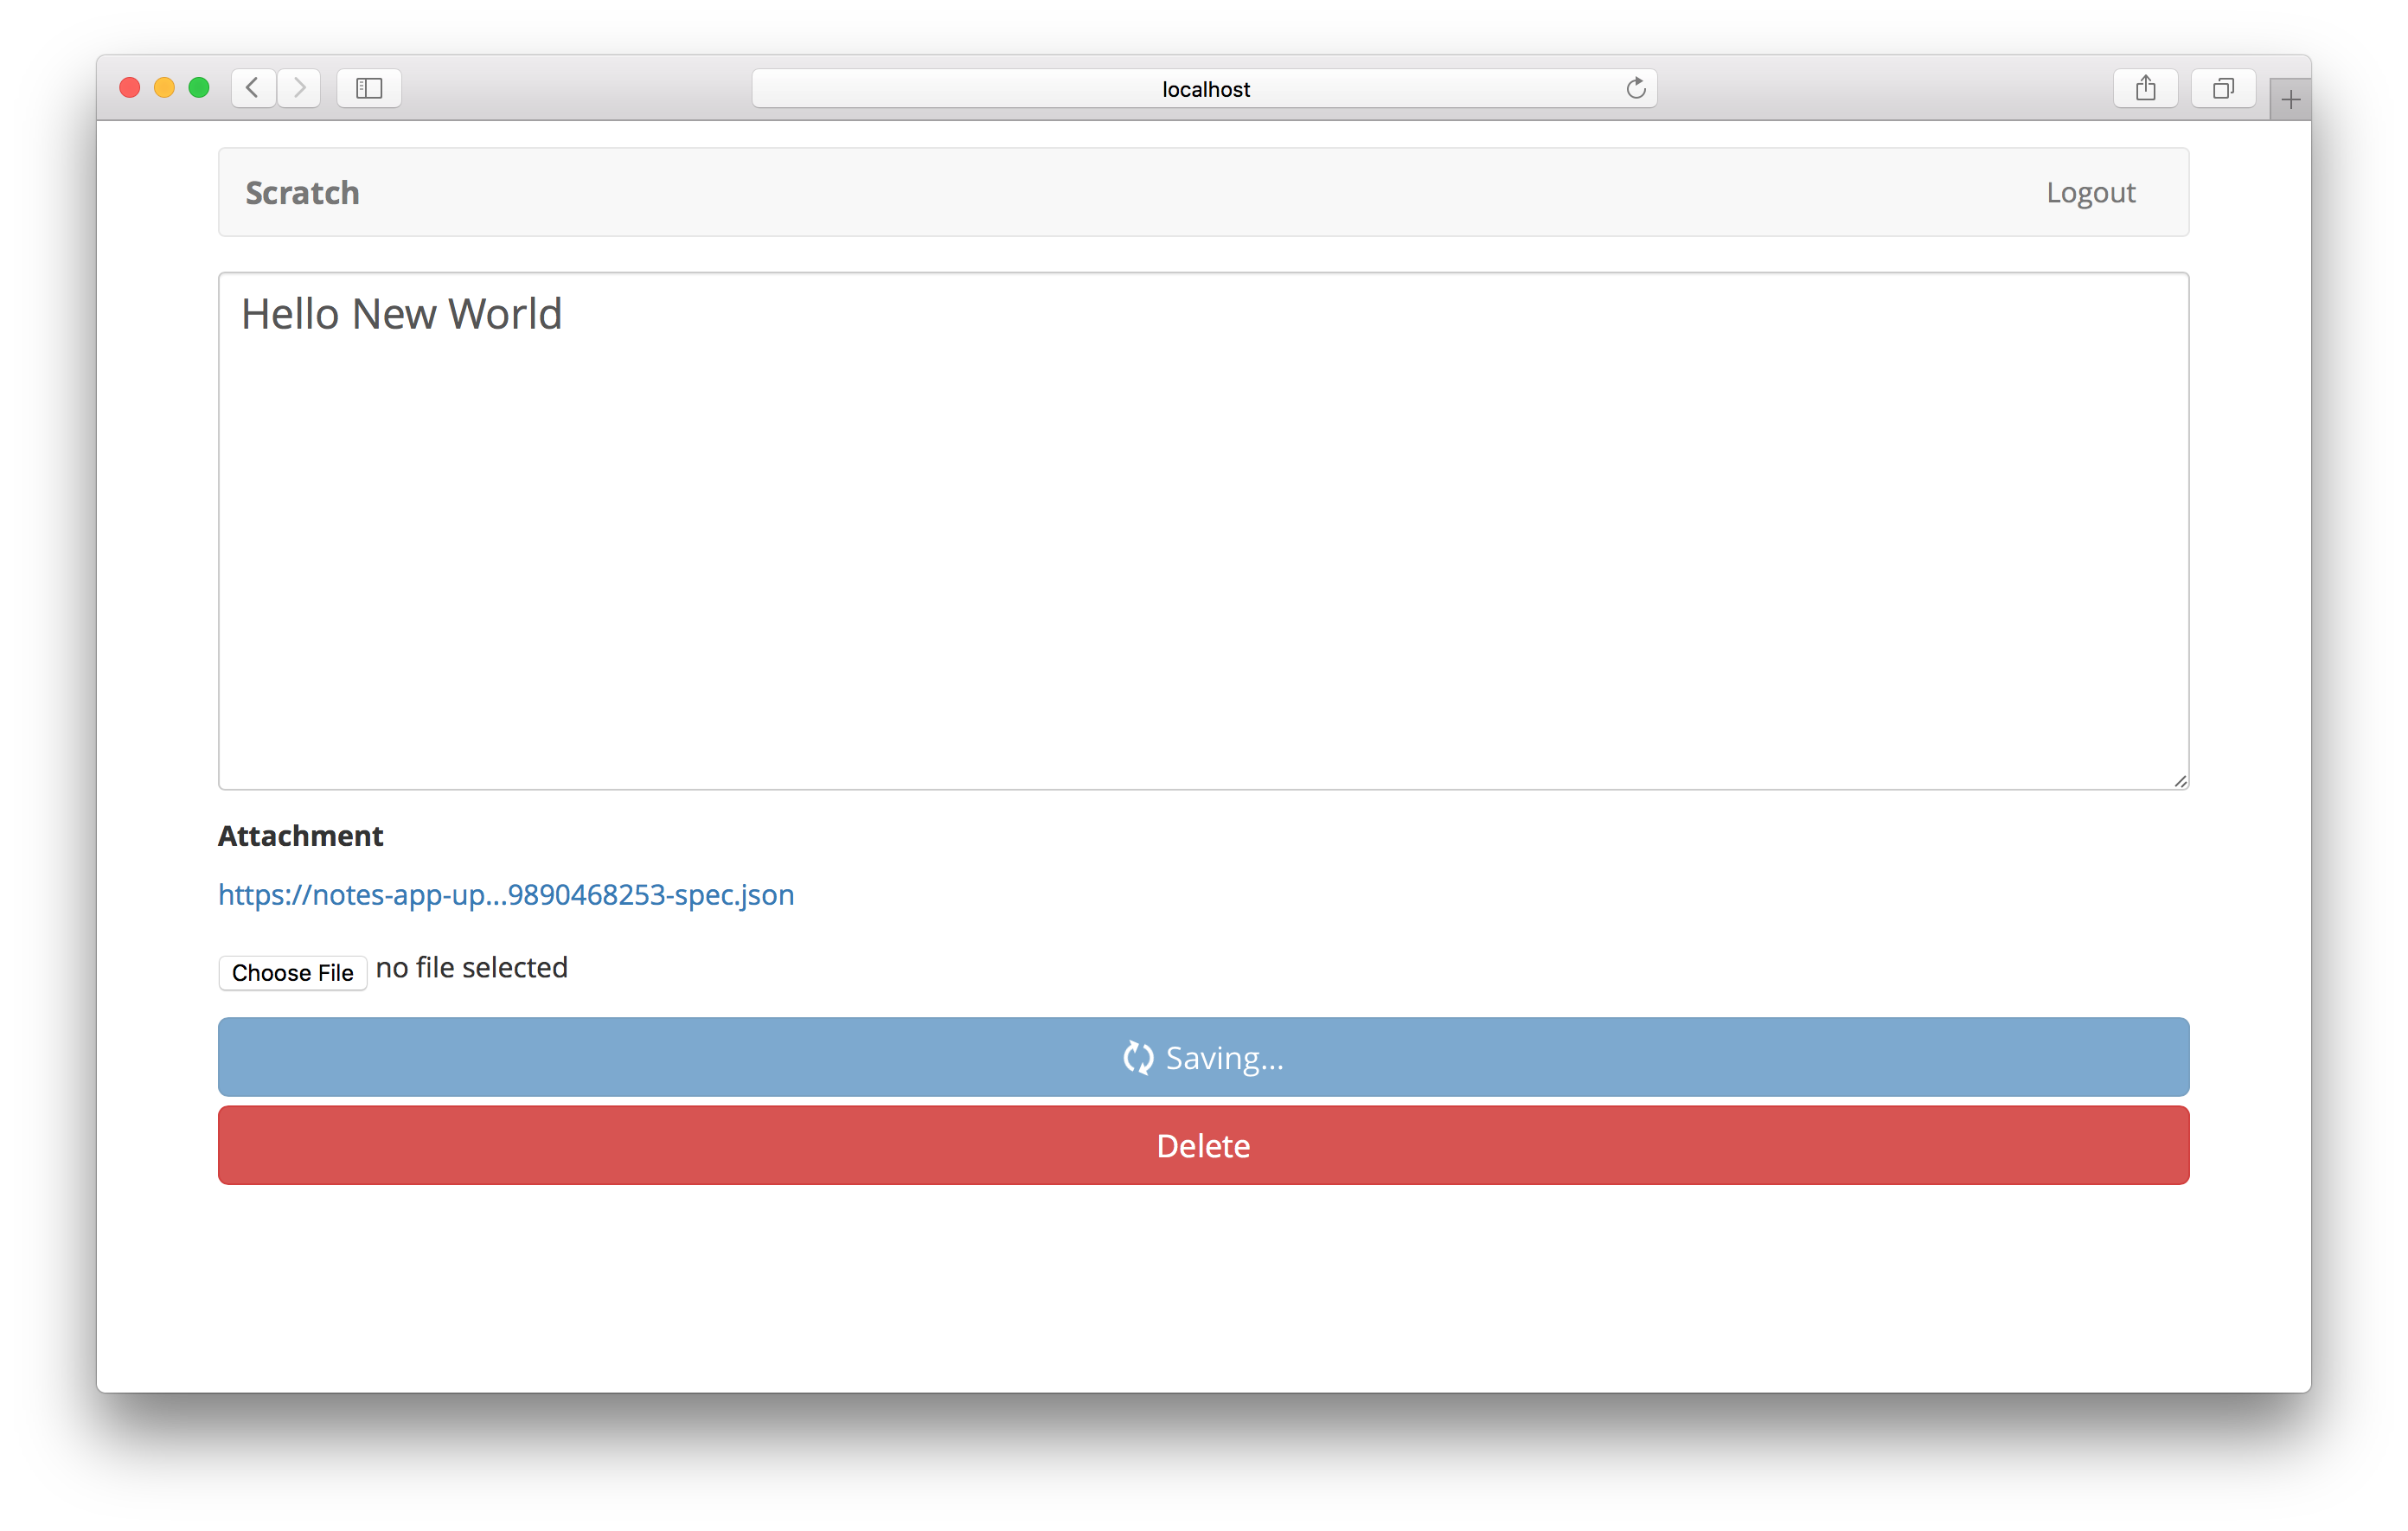
Let’s switch over to our browser and give it a try by saving some changes.
You might have noticed that we are not deleting the old attachment when we upload a new one. To keep things simple, we are leaving that bit of detail up to you. It should be pretty straightforward. Check the AWS JS SDK Docs on how to a delete file from S3.
Next up, let’s allow users to delete their note.
If you liked this post, please subscribe to our newsletter and give us a star on GitHub.
For help and discussion
Comments on this chapterFor reference, here is the code so far
Frontend Source :save-changes-to-a-note